 Skip to content
In the twenty years since Snipers Edge Hockey invented the shooting tarp, we have sold THOUSANDS of tarps to families, teams, training centers, and others who are passionate about getting better at hockey. The product is awesome for encouraging more shooting practice at home, while protecting windows and walls.
One of the top questions we have received along the way is: how should I install my new shooting tarp?
Well, unfortunately there is not a “one size fits all” solution, since every room and situation is different. However, after engaging with hundreds of customers over the years about what works or doesn’t work, we wanted to share this list of best practices and tradeoffs for families to consider. A “cheat sheet”, if you will, to allow even the least handy among us to learn how to tackle the project effectively.
1) Where is the best location to hang a shooting tarp?
We have seen hockey shooting tarps on interior garage walls, in front of the garage door, basements, sport courts, backyards, under a deck, and more! The decision is different for each family.
Consider where you have space, what else do you need that room for, where will your player enjoy training for extended periods of time, will the temperature be comfortable throughout the year, and what are the flooring options in that room and/or can you add some slick tiles, shooting pad, or skateable synthetic ice to assist with the training.
Next, consider that some families enjoy seeing the tarp everyday, and see the puck marks as a “badge of honor” that their player is putting in the work! Meanwhile, other parents might prefer for the shooting room to be somewhere “out of sight and out of mind”.
There’s no wrong answer for location; just a question of what works for your family.
2) Should I attach the shooting tarp to the wall or the ceiling?
Both solutions offer similar functionality for the tarp once installed, so this decision rests on the room dimensions, what would be easier for installation, do you care less about damage to one or the other, and which installation products/equipment are less expensive. Some factors to consider:
When is ceiling installation the best:
- If ceiling joists are visible and can be accessed at a comfortable height from a ladder
- If the walls are concrete, brick, or have metal studs
- If you don’t mind seeing bungees hanging down
- If you wish to install with a curtain-like railing so the tarp to left or right when not in use
- If you have other stuff on your walls already (such as other shelves, items hanging, or windows, making shelf brackets on the wall not possible)
When is wall installation the best:
- If your ceiling is too high and cannot be accessed comfortably
- If ceiling joists are not in the right location relative to where you want to place the tarp. See point 4) below about needing to place the tarp 12-18” from the wall.
- If the walls are unfinished so finding the studs is easy
- If you prefer the aesthetics of a crisp, flush look across the entire tarp, which is best created by fastening to a 2" x 4" board
- If you don’t want to see bungees dangling down from up above
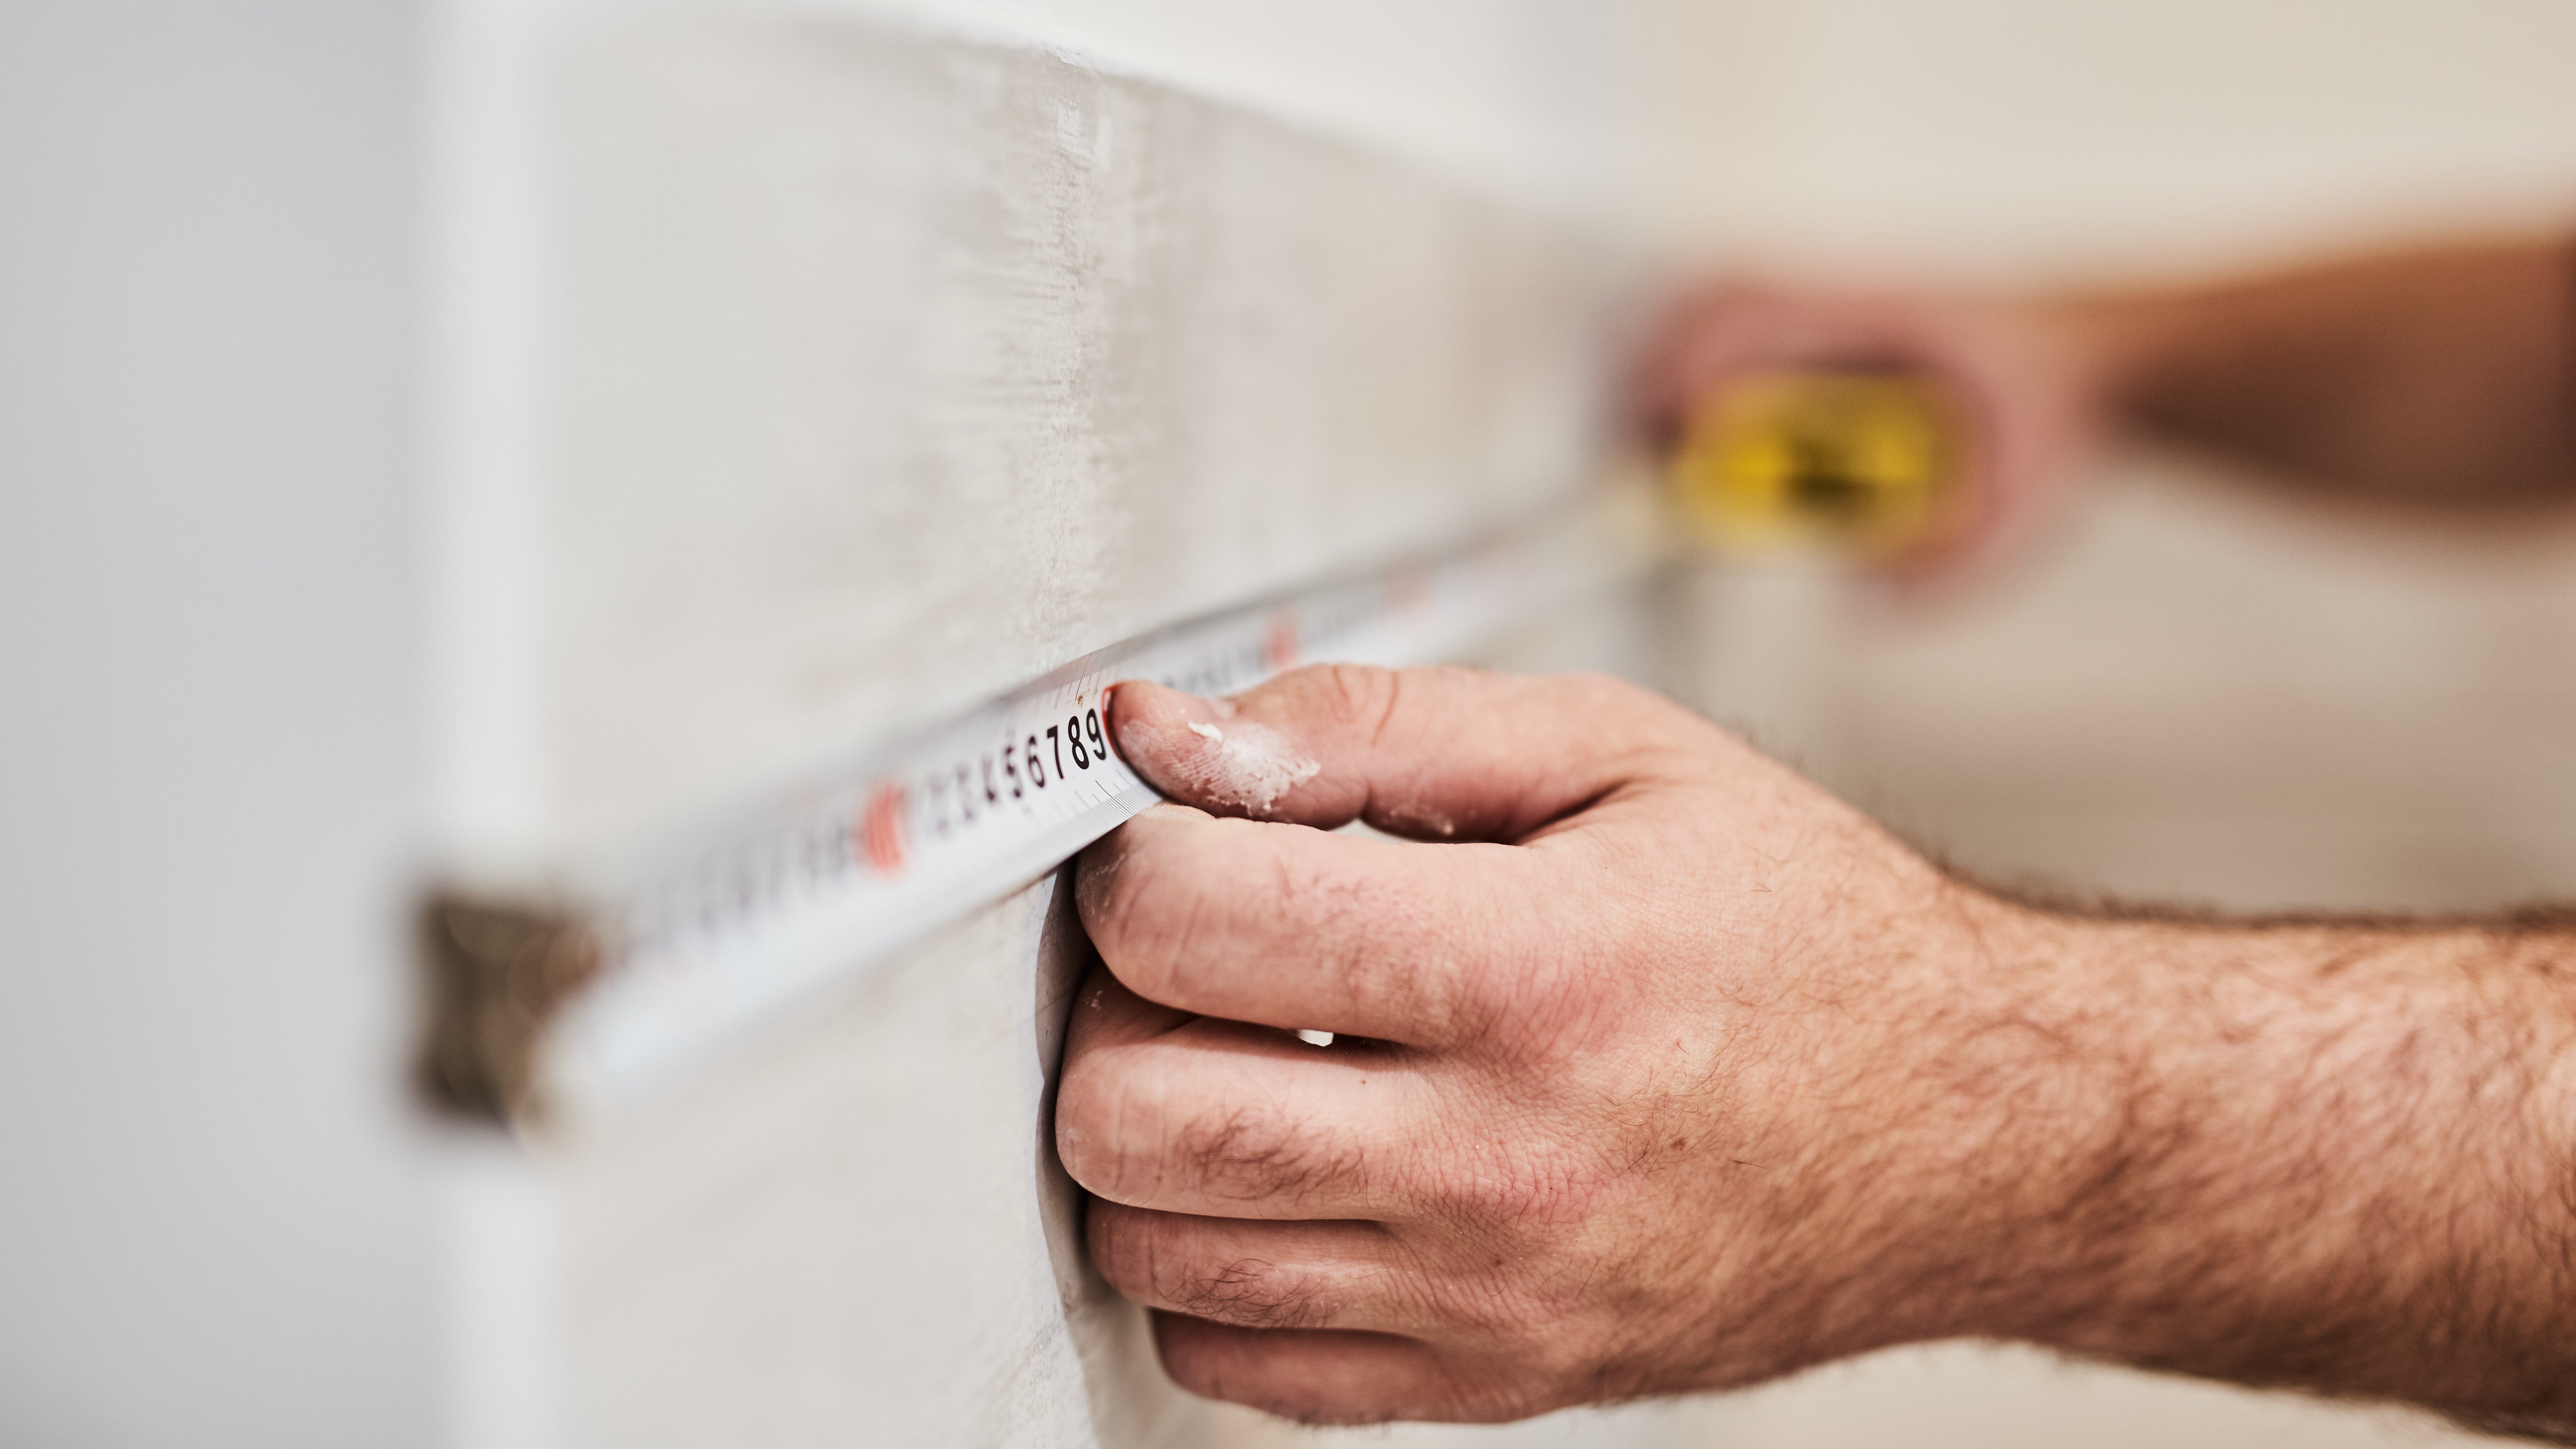
3) How far from a wall to position the tarp?
Our strong recommendation is 12-18”, even after providing weight to the bottom. Yes, this might seem like overkill at first glance, but there are some valuable factors to consider.
First, the tarps are designed to withstand the force of shots, but it needs to push backwards to do so. Even in the yellow pockets, which are constructed to provide several inches of give behind the white vinyl front surface. If the shot collides with something behind, the pucks might bounce forward (even from the pockets), instead of hitting and dropping. Not the end of the world, but makes the experience less satisfying for the shooter. If the tarp was positioned to protect windows and walls, you wouldn’t want collision.
Theoretically a shooting tarp could be installed with enough weight along the bottom to reduce the pushback. However, with too much weight you risk creating a trampoline effect with each shot. Therefore, we come back to believing that 12-18” is the right amount of distance to offer shot absorption.
12” from the wall is adequate for most 10U or 12U players who are still working on their shots. However but when that player becomes a teenager and then only wants to rip clappers at home, then you’ll want to step up to greater distance. At 18” from the wall, you are in good shape.
4) How do I keep the tarp from flying around?
Even though the entire shooting tarp weighs 25 pounds, a customer will want to introduce some weight to the bottom to prevent the tarp from blowing back from the force of shots or from gusts of wind. The other benefit to the weight is to prevent pucks from sliding underneath!
So what type of bottom weight is the best?
Fortunately the tarp is constructed with a 2” sleeve along the bottom to enable a 1.5” diameter dowel or pipe to be inserted to provide such weight, making your life easier. Also, it’s noteworthy that not a ton of weight is required to create the desired weighting effect. In fact, an object that is as light as 3-5 pounds might be sufficient.
We have seen many different approaches. We have seen best results from inserting a wooden closet dowel through the bottom sleeve, which is readily available from a hardware store or lumber yard. But even old hockey sticks, broom handles, aluminum extension poles, or other similar home remedies that provide just a bit of weight is enough to do the trick.
Other customers have opted to use metal chain or pipe. This might seem like a preferred choice if the tarp is a rink or training center and receiving a high volume of shots. However, one has to keep in mind that over time the pucks will cause collision between pipe and tarp, and will cause the tarp fabric to fray and rip. So if you choose to use metal, we recommend using something like an old towel, old t-shirts, or small diameter foam tubes (such as fun noodles!) as an insulation device between the pipe/chain, at least for the high shot areas like in front of the net.
Rigid plastic rods are not recommended, as breakage following puck contact is likely.
A customer can choose one continuous rod or pipe, or multiple pieces. Best case is a 16 FT wooden closet rod, although getting that home from the lumber yard can be a headache. The downside to multiple pieces is that they could slide out of the sides, but might pushing those pieces back in is only a slight inconvenience. Other customers have opted to have heavier weight in the corners, believing that doing so protects the puck from caving in the middle with each shot.
Once again, consider that some weight is required, but too much will create stiffness and create a trampoline effect. You will want the tarp to have some give to absorb shots.
5) What if my room is more narrow than 16 feet?
Not a problem. Since the tarp is constructed with 9 grommet holes (each roughly 24” on center), consider which grommet holes align with what you want to be the outer perimeter. Then with the excess fabric, consider folding behind the front surface, and line up the remaining grommets with those on the front surface and secure them together and to the wall/ceiling. Doing so will create a finish along the edges.
We have seen other customers using binder clips or clamps to secure excess along the sides. That solution could certainly work, but you’ll have to consider whether the aesthetic result is what you desire.
We also provide custom tarps for unusual room shapes, although please expect those to be priced at a premium relative to our standard sizes given they are hand-crafted to your exact specs.
In short, yes the shooting tarp installation requires a bit of sweat equity and tools, but with proper planning even the least handy among us can tackle this in 30-60 minutes with household tools (1-2 ladders or stepstools, power drill, studfinder, and pencil), 1-2 people, a trip to the hardware store, and <$50. Relative to the hours spent training and thousands (or more) puck marks your player is likely to endure, it’s a small price to pay.
If you have questions or room factors we haven’t seen yet, we’d love to hear from you! Please comment below or email us at cs@snipersedgehockey.com to start the conversation.