 Skip to content

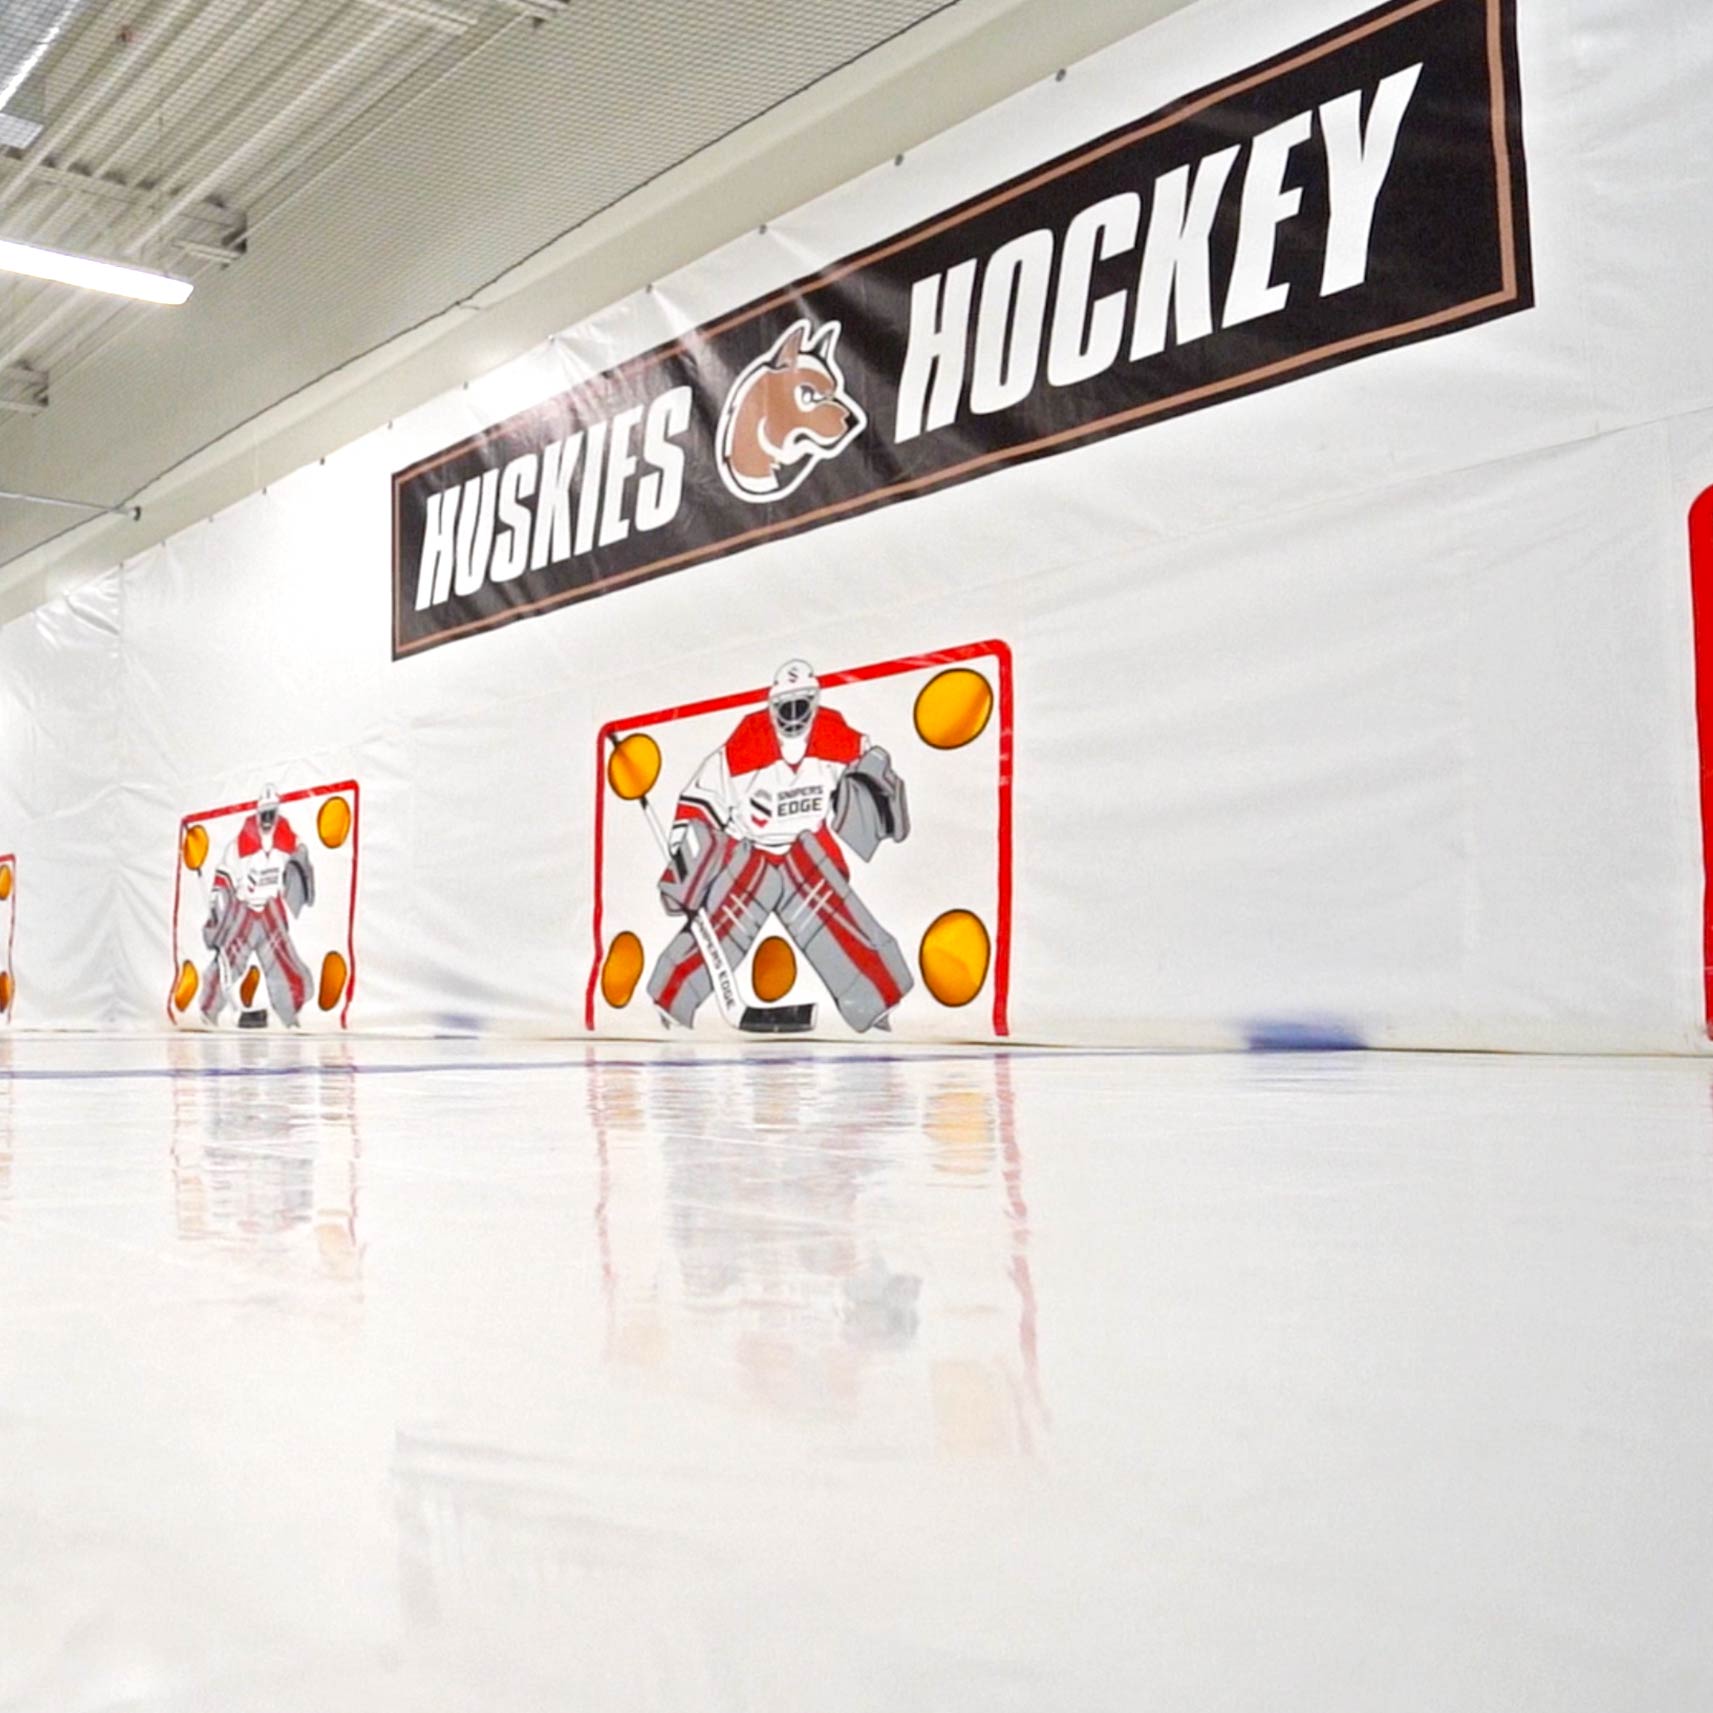
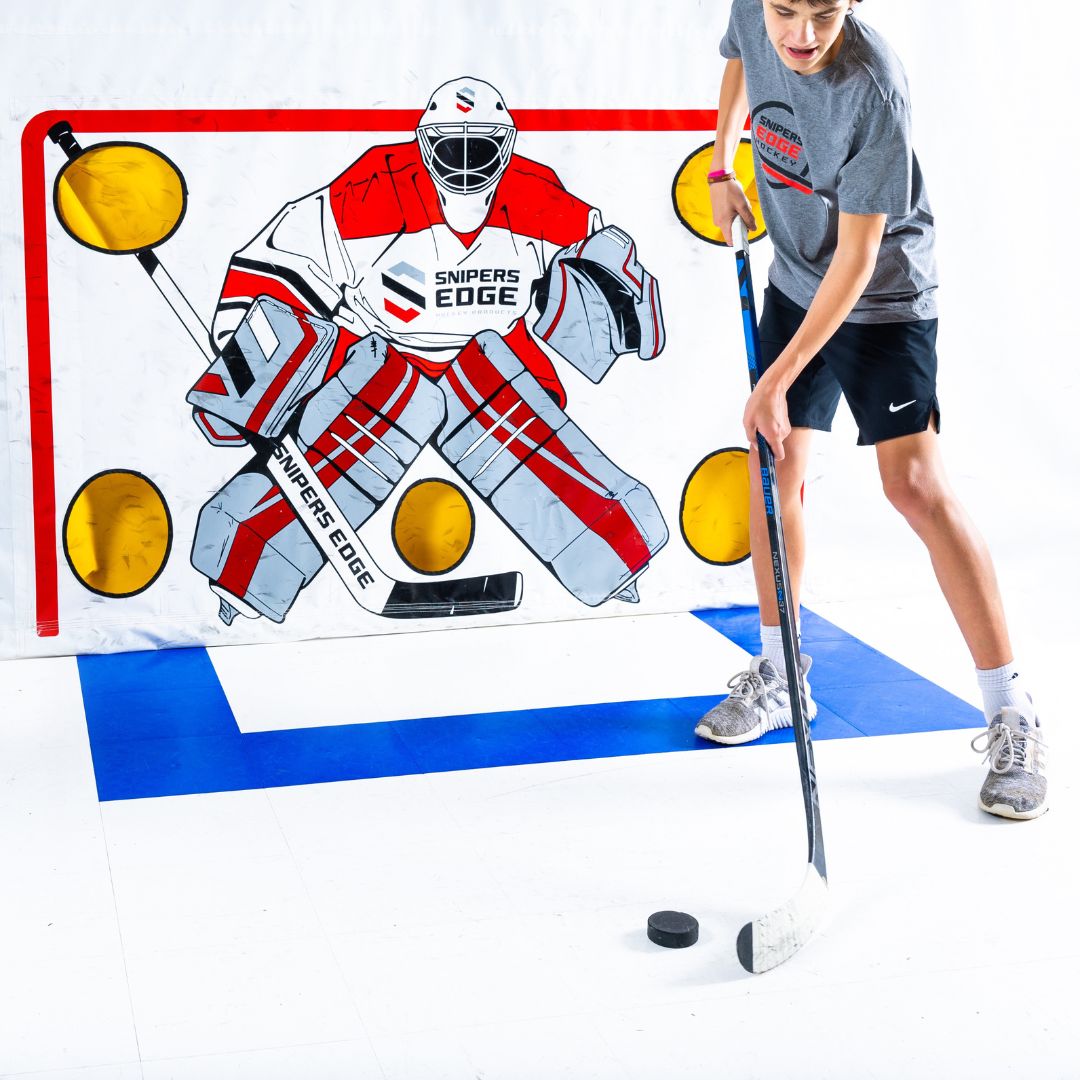
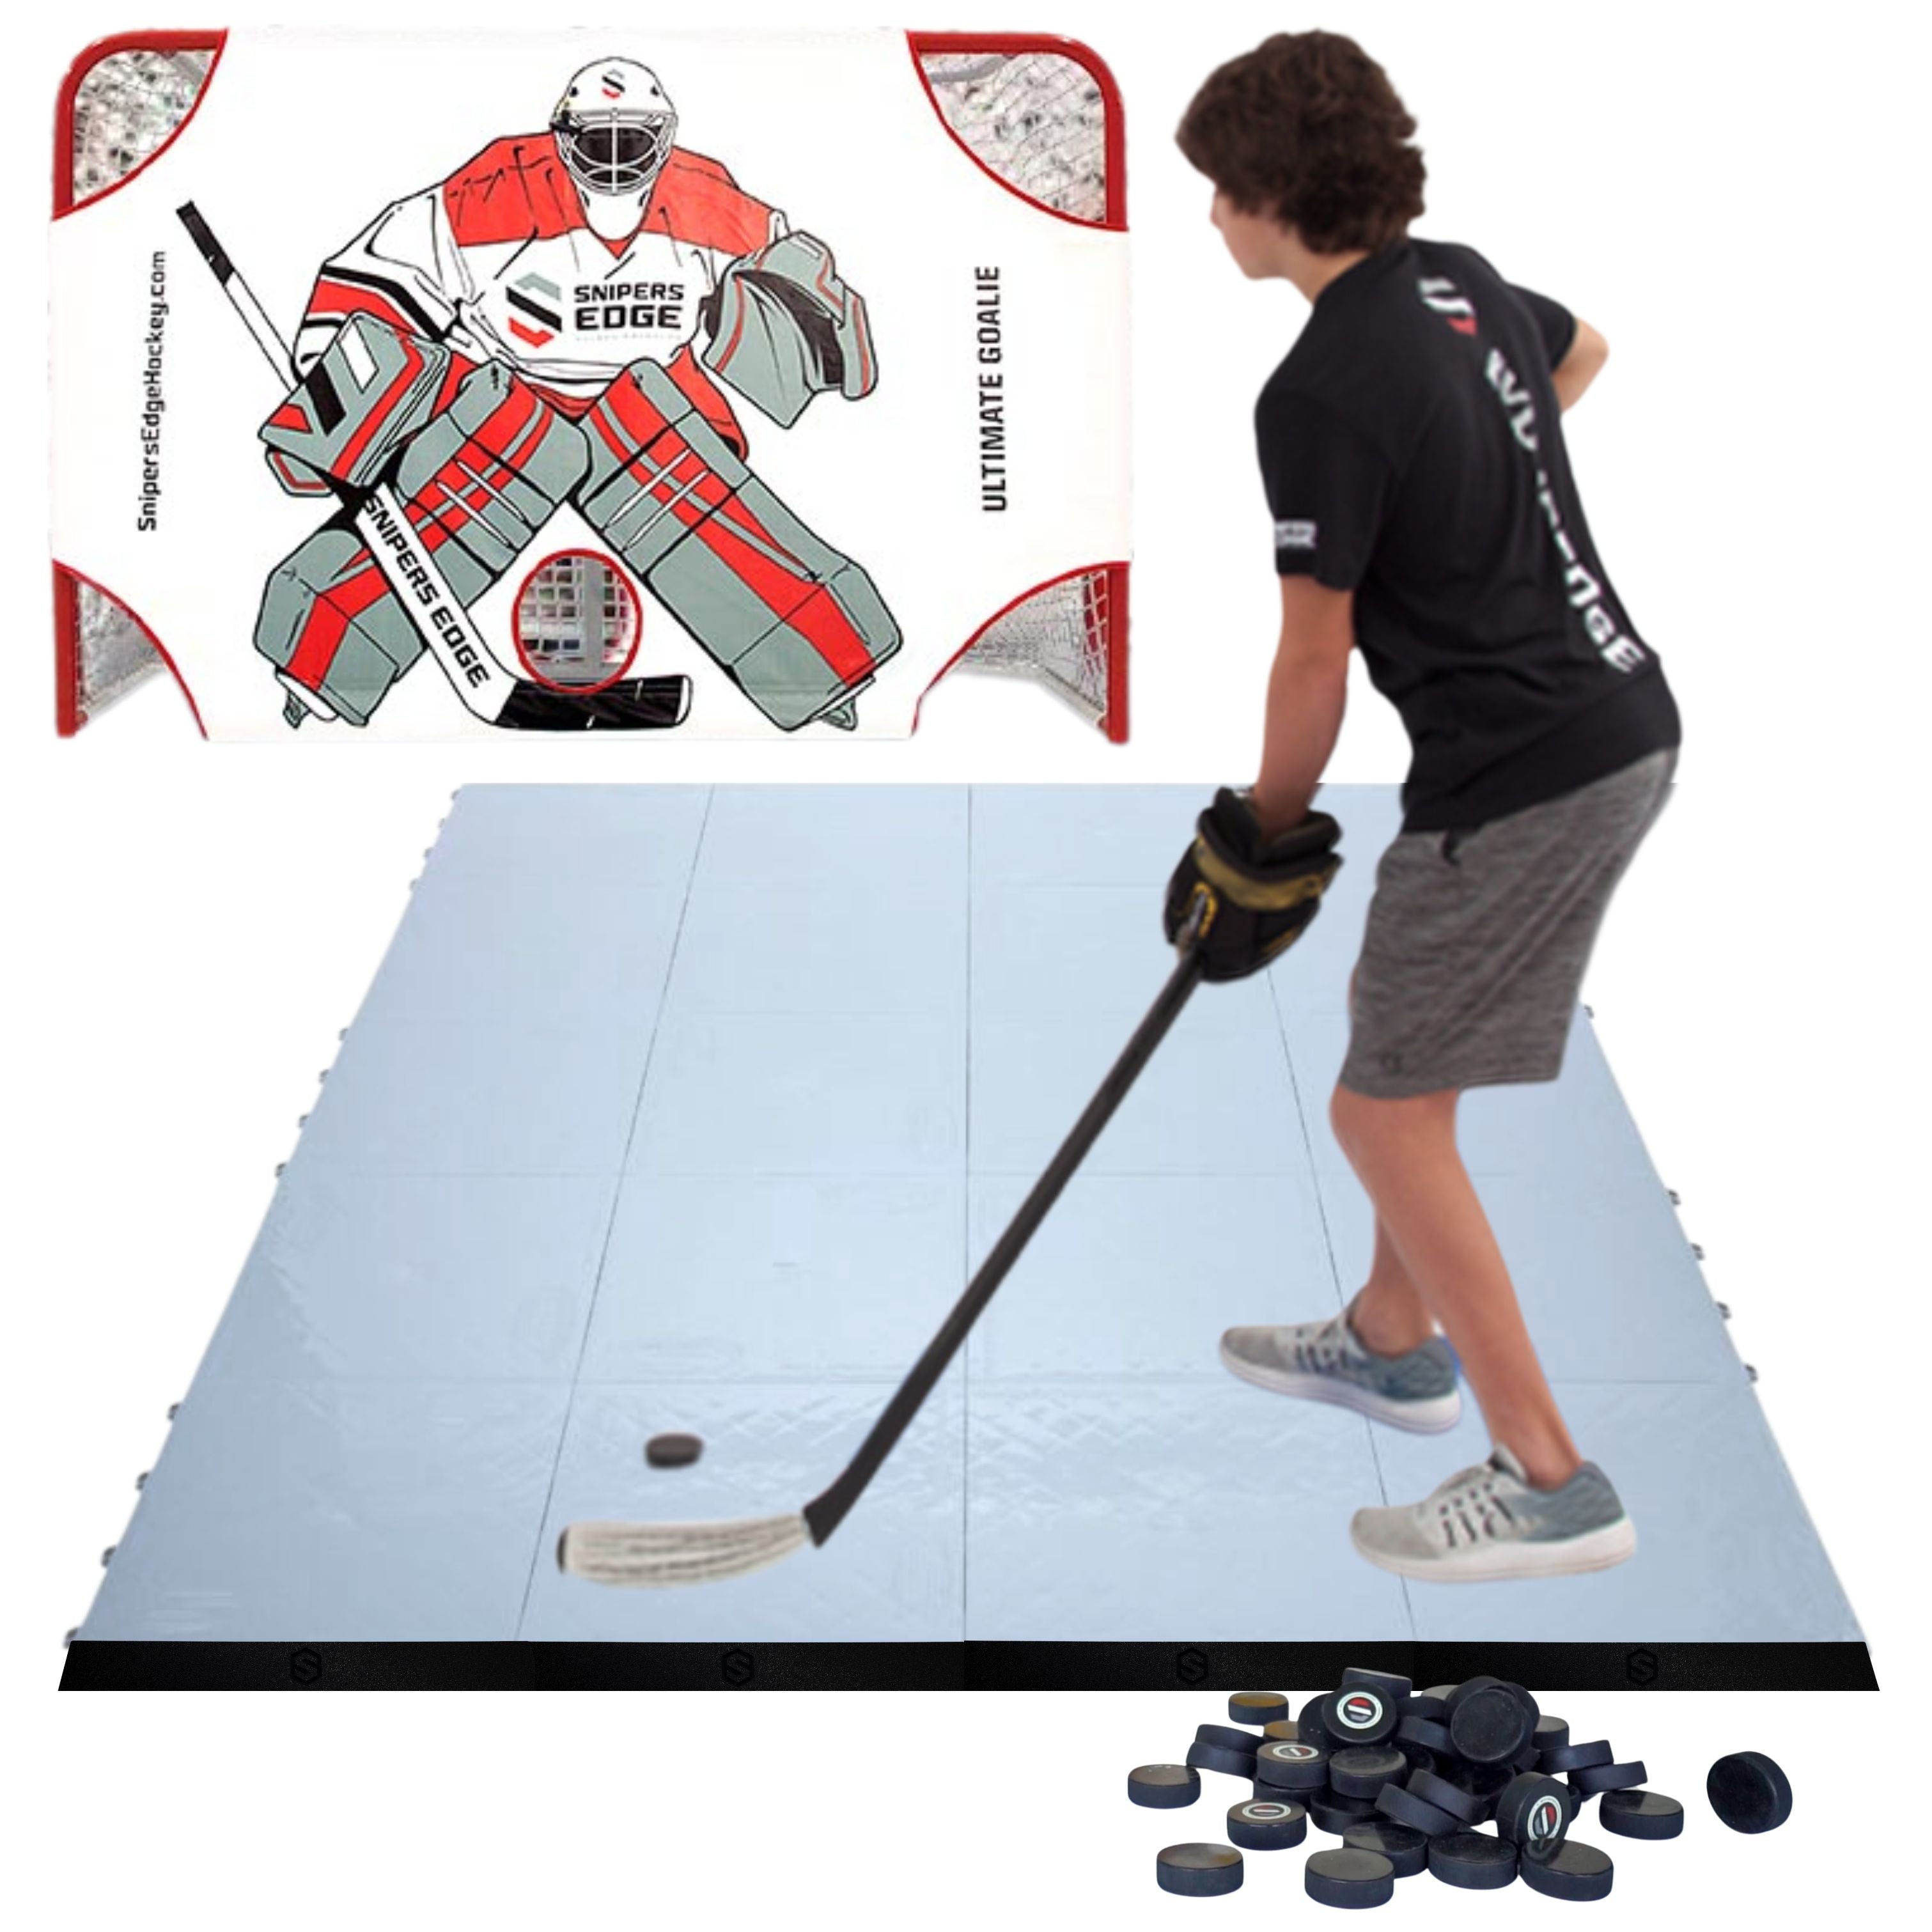
DRYLAND HOCKEY TILES
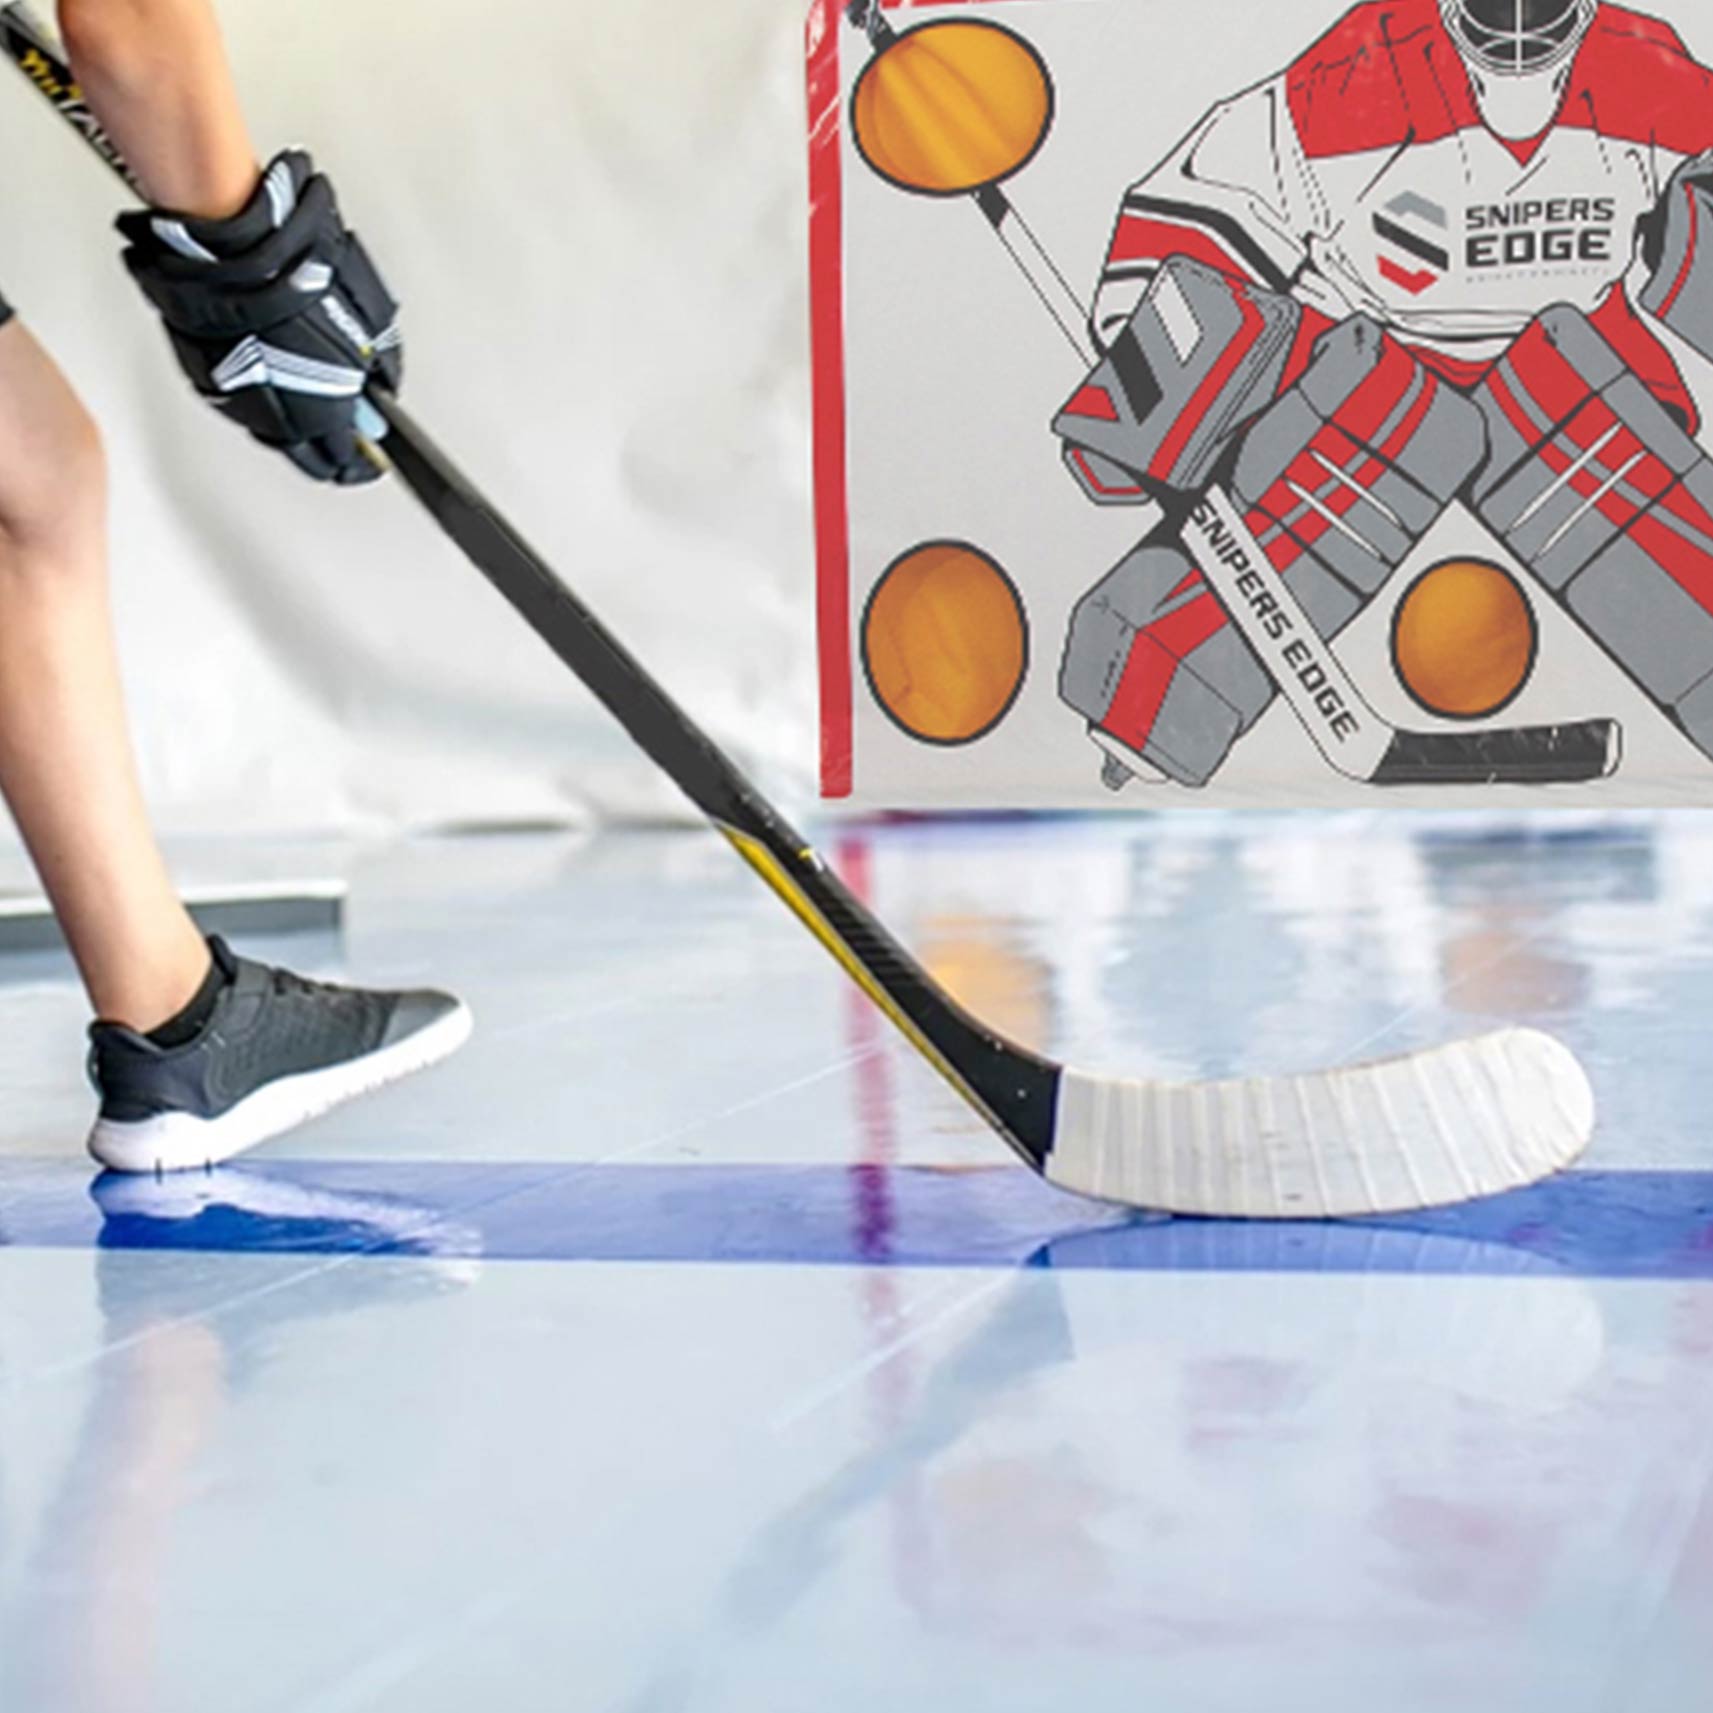
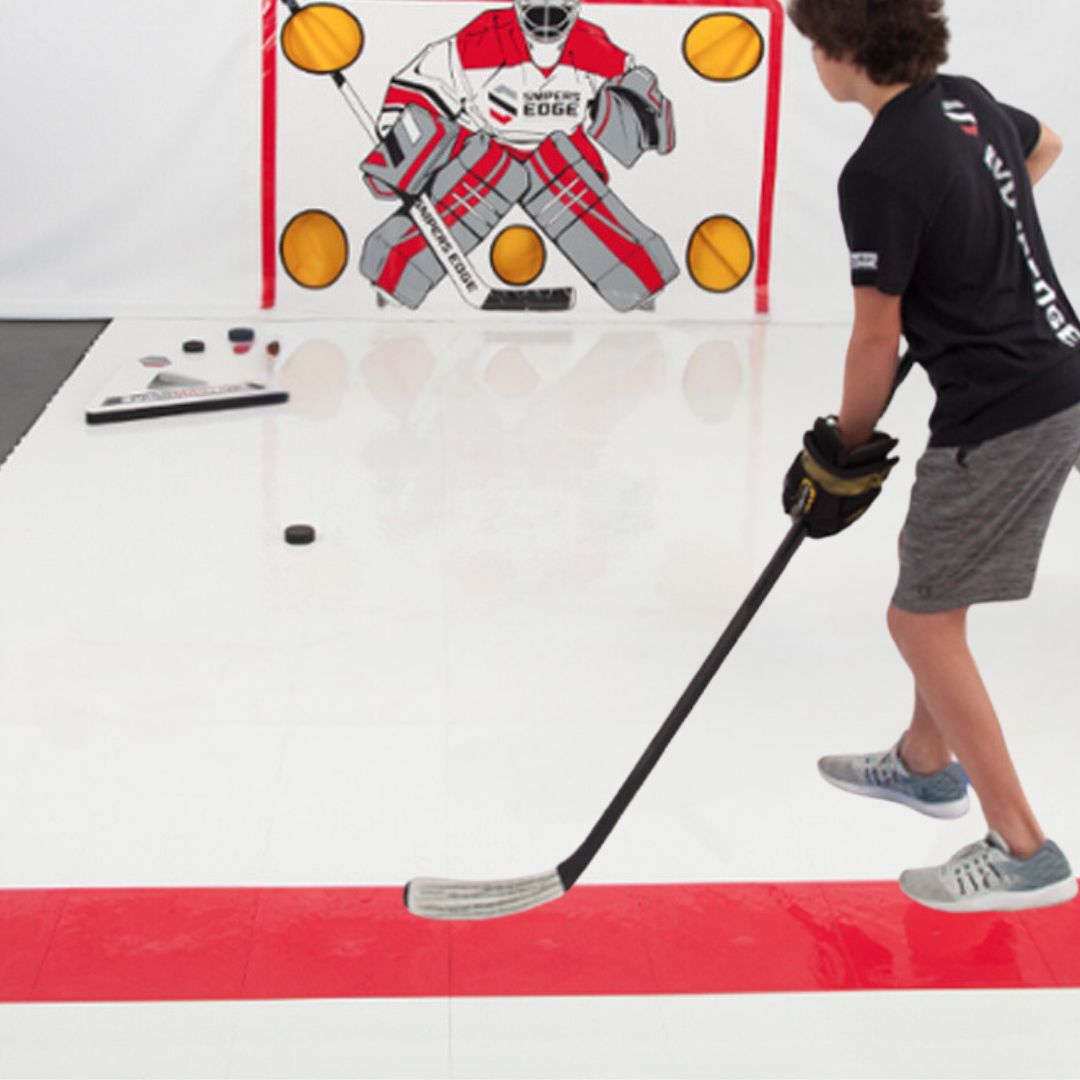
Elevate your stickhandling, passing and shooting skills with the best dryland hockey tiles on the market.
Designed to mimic the feel of real ice, our premium hockey training tiles allow you to practice your dangles, passes, and shots anywhere — from the garage to the driveway.
Rugged, weather-resistant, and easy to assemble, Snipers Edge Slick Tiles are the ultimate foundation for your at-home hockey training center.
SHOP OUR COLLECTION


WHY SLICK TILES ARE AWESOME
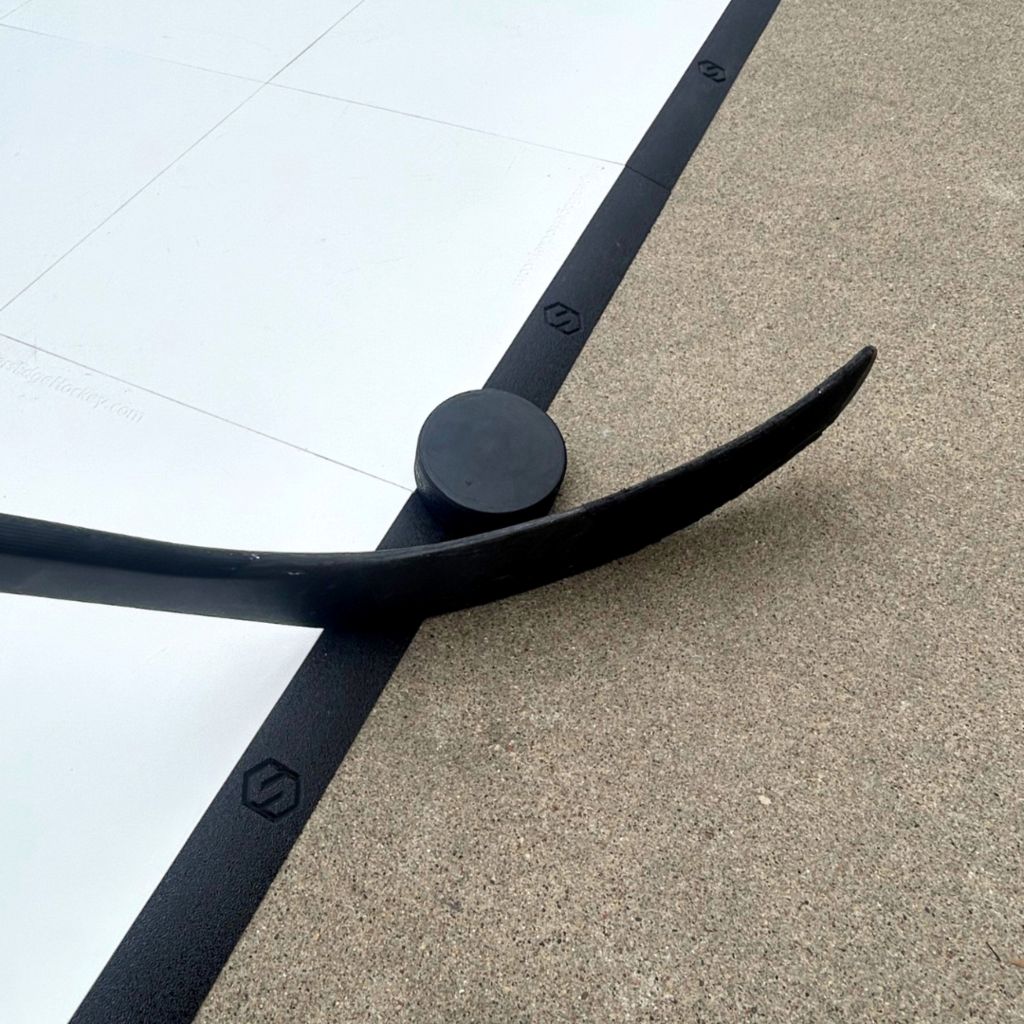
- Superior glide: Premium-quality surface designed so pucks, biscuits, and balls slide with ease.
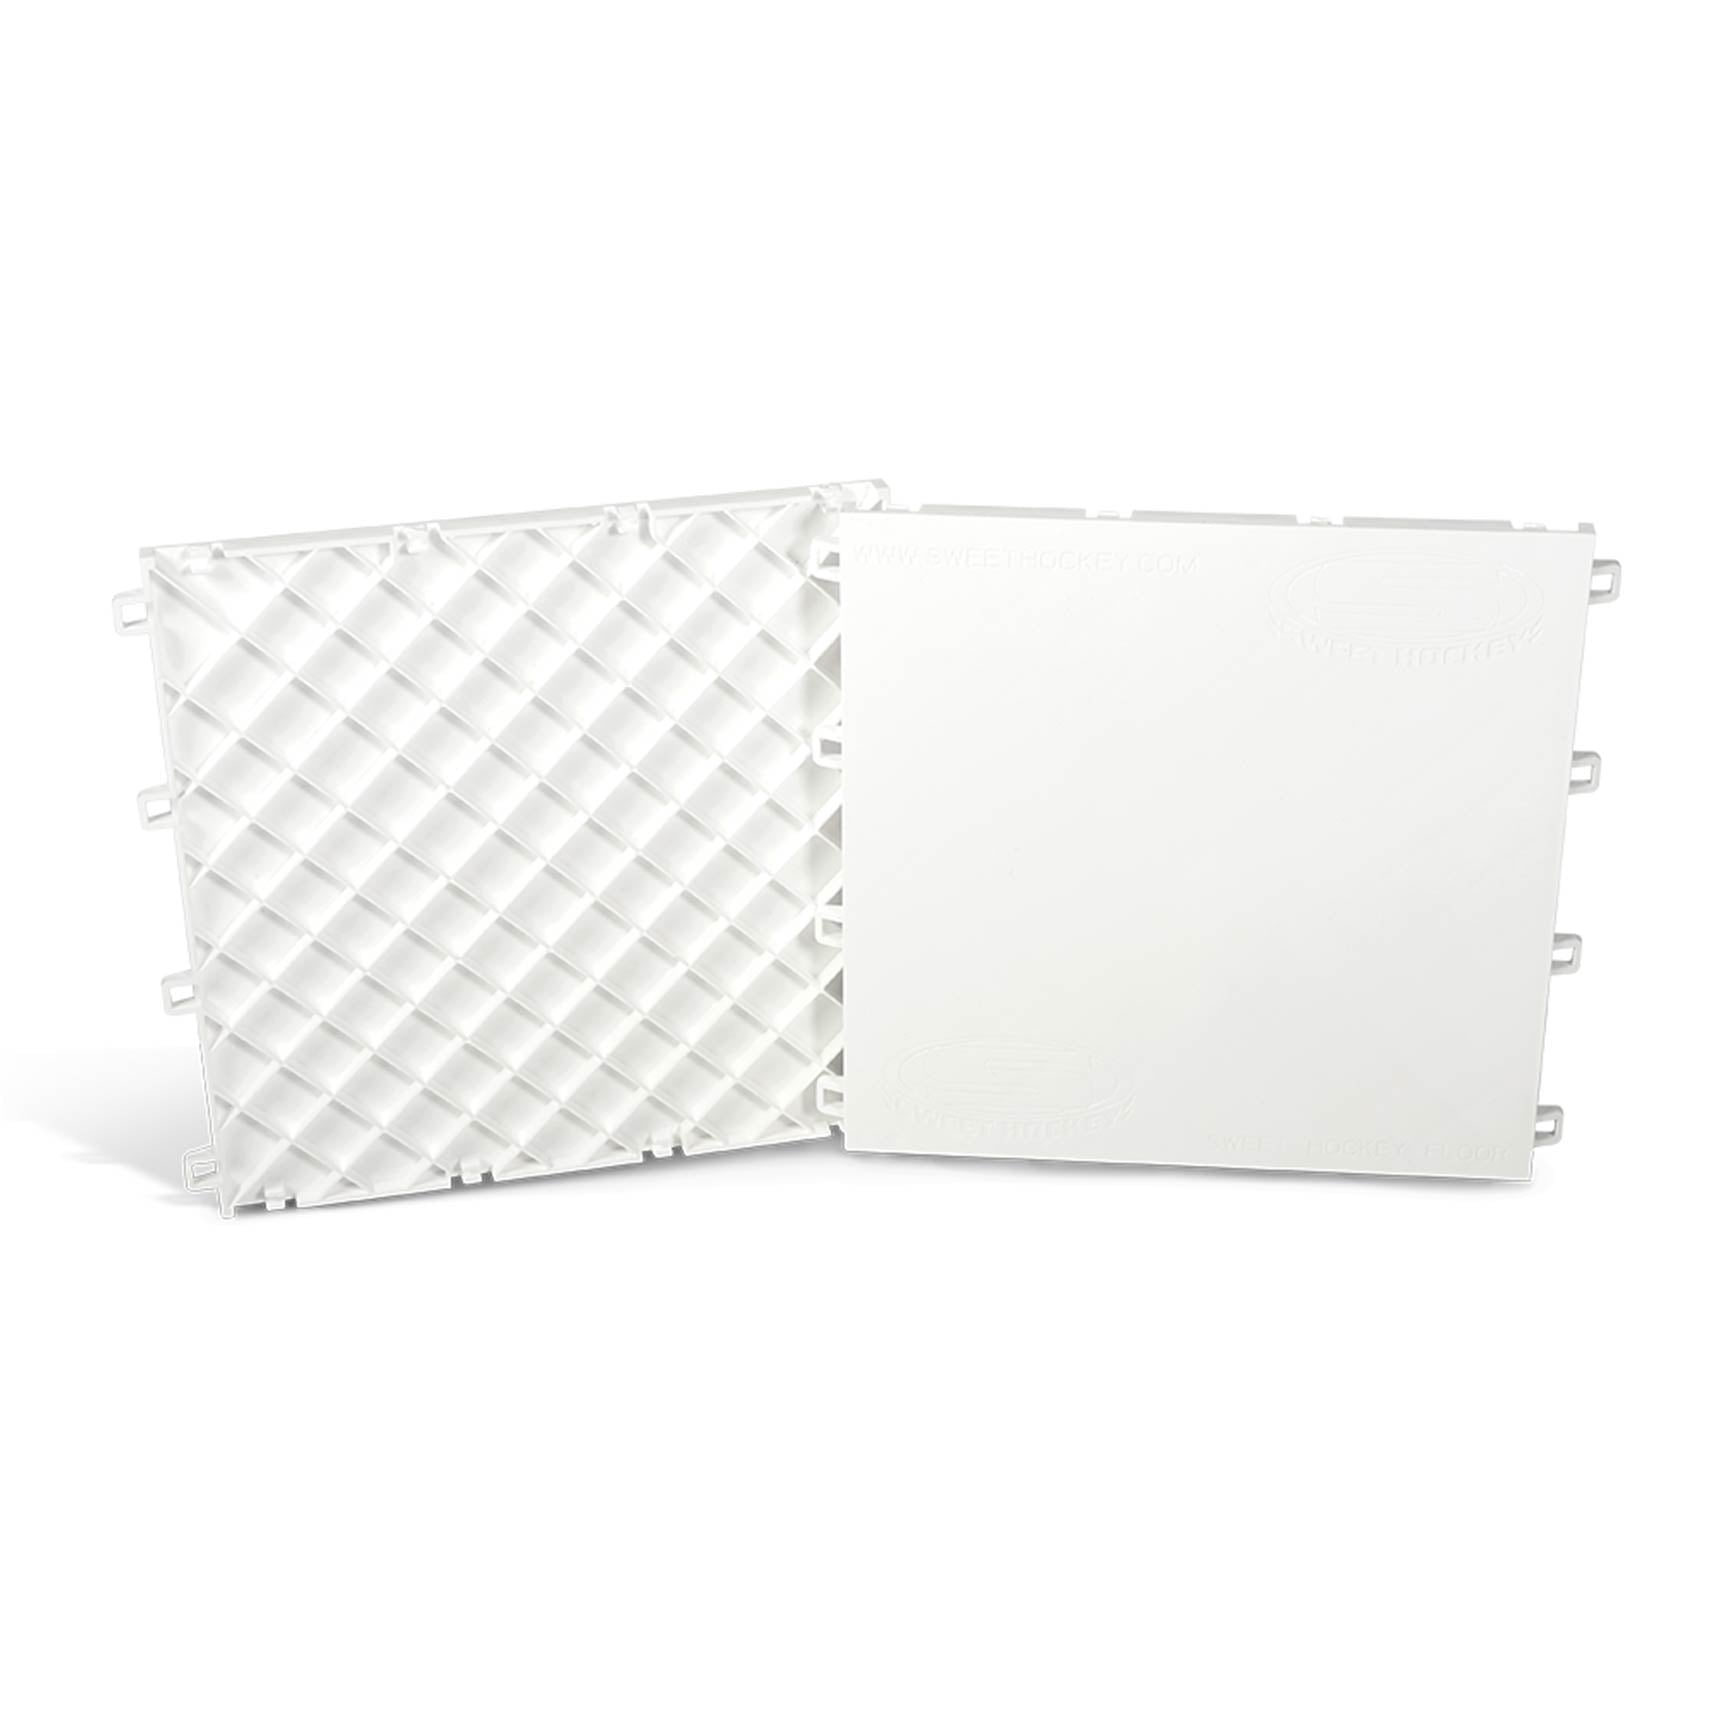
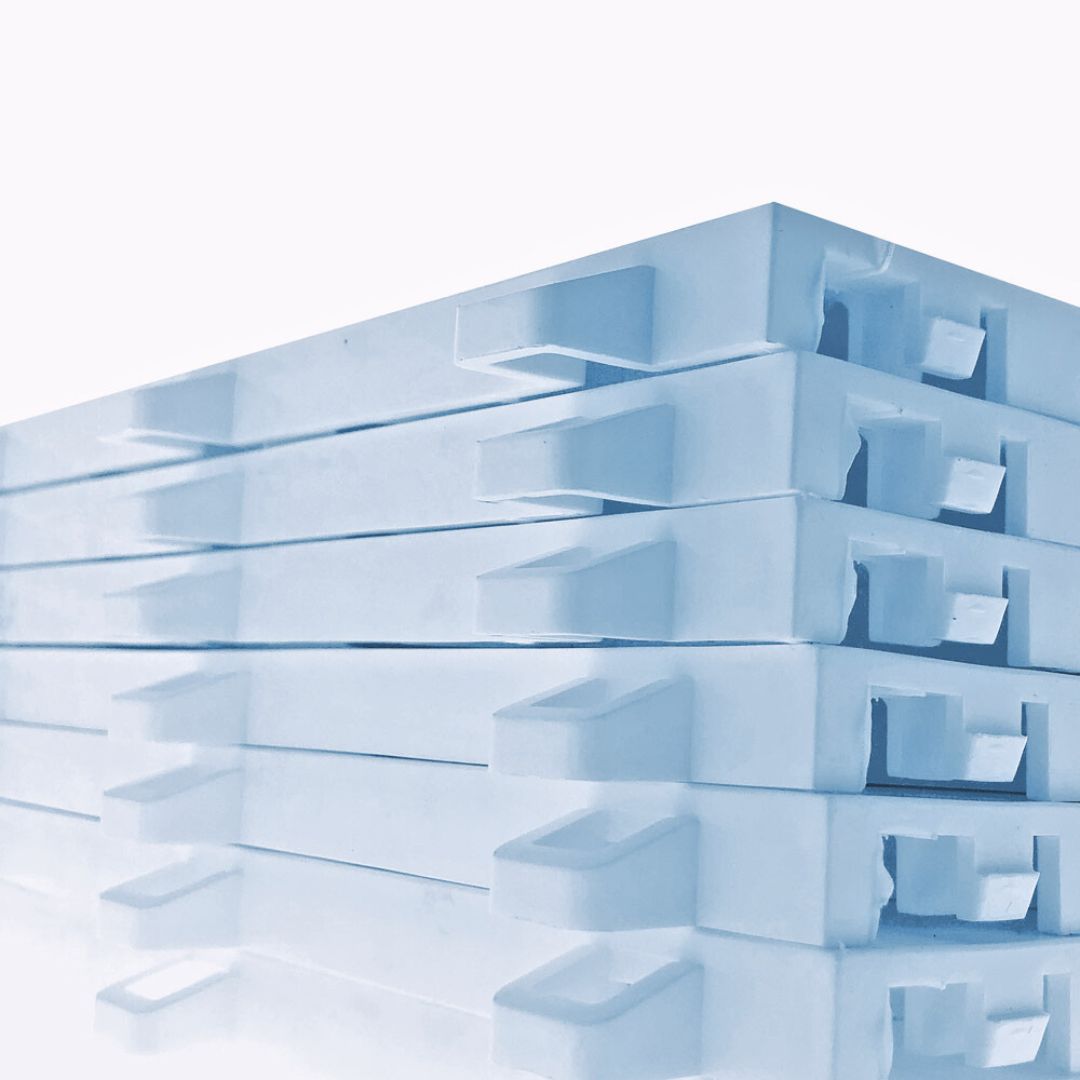
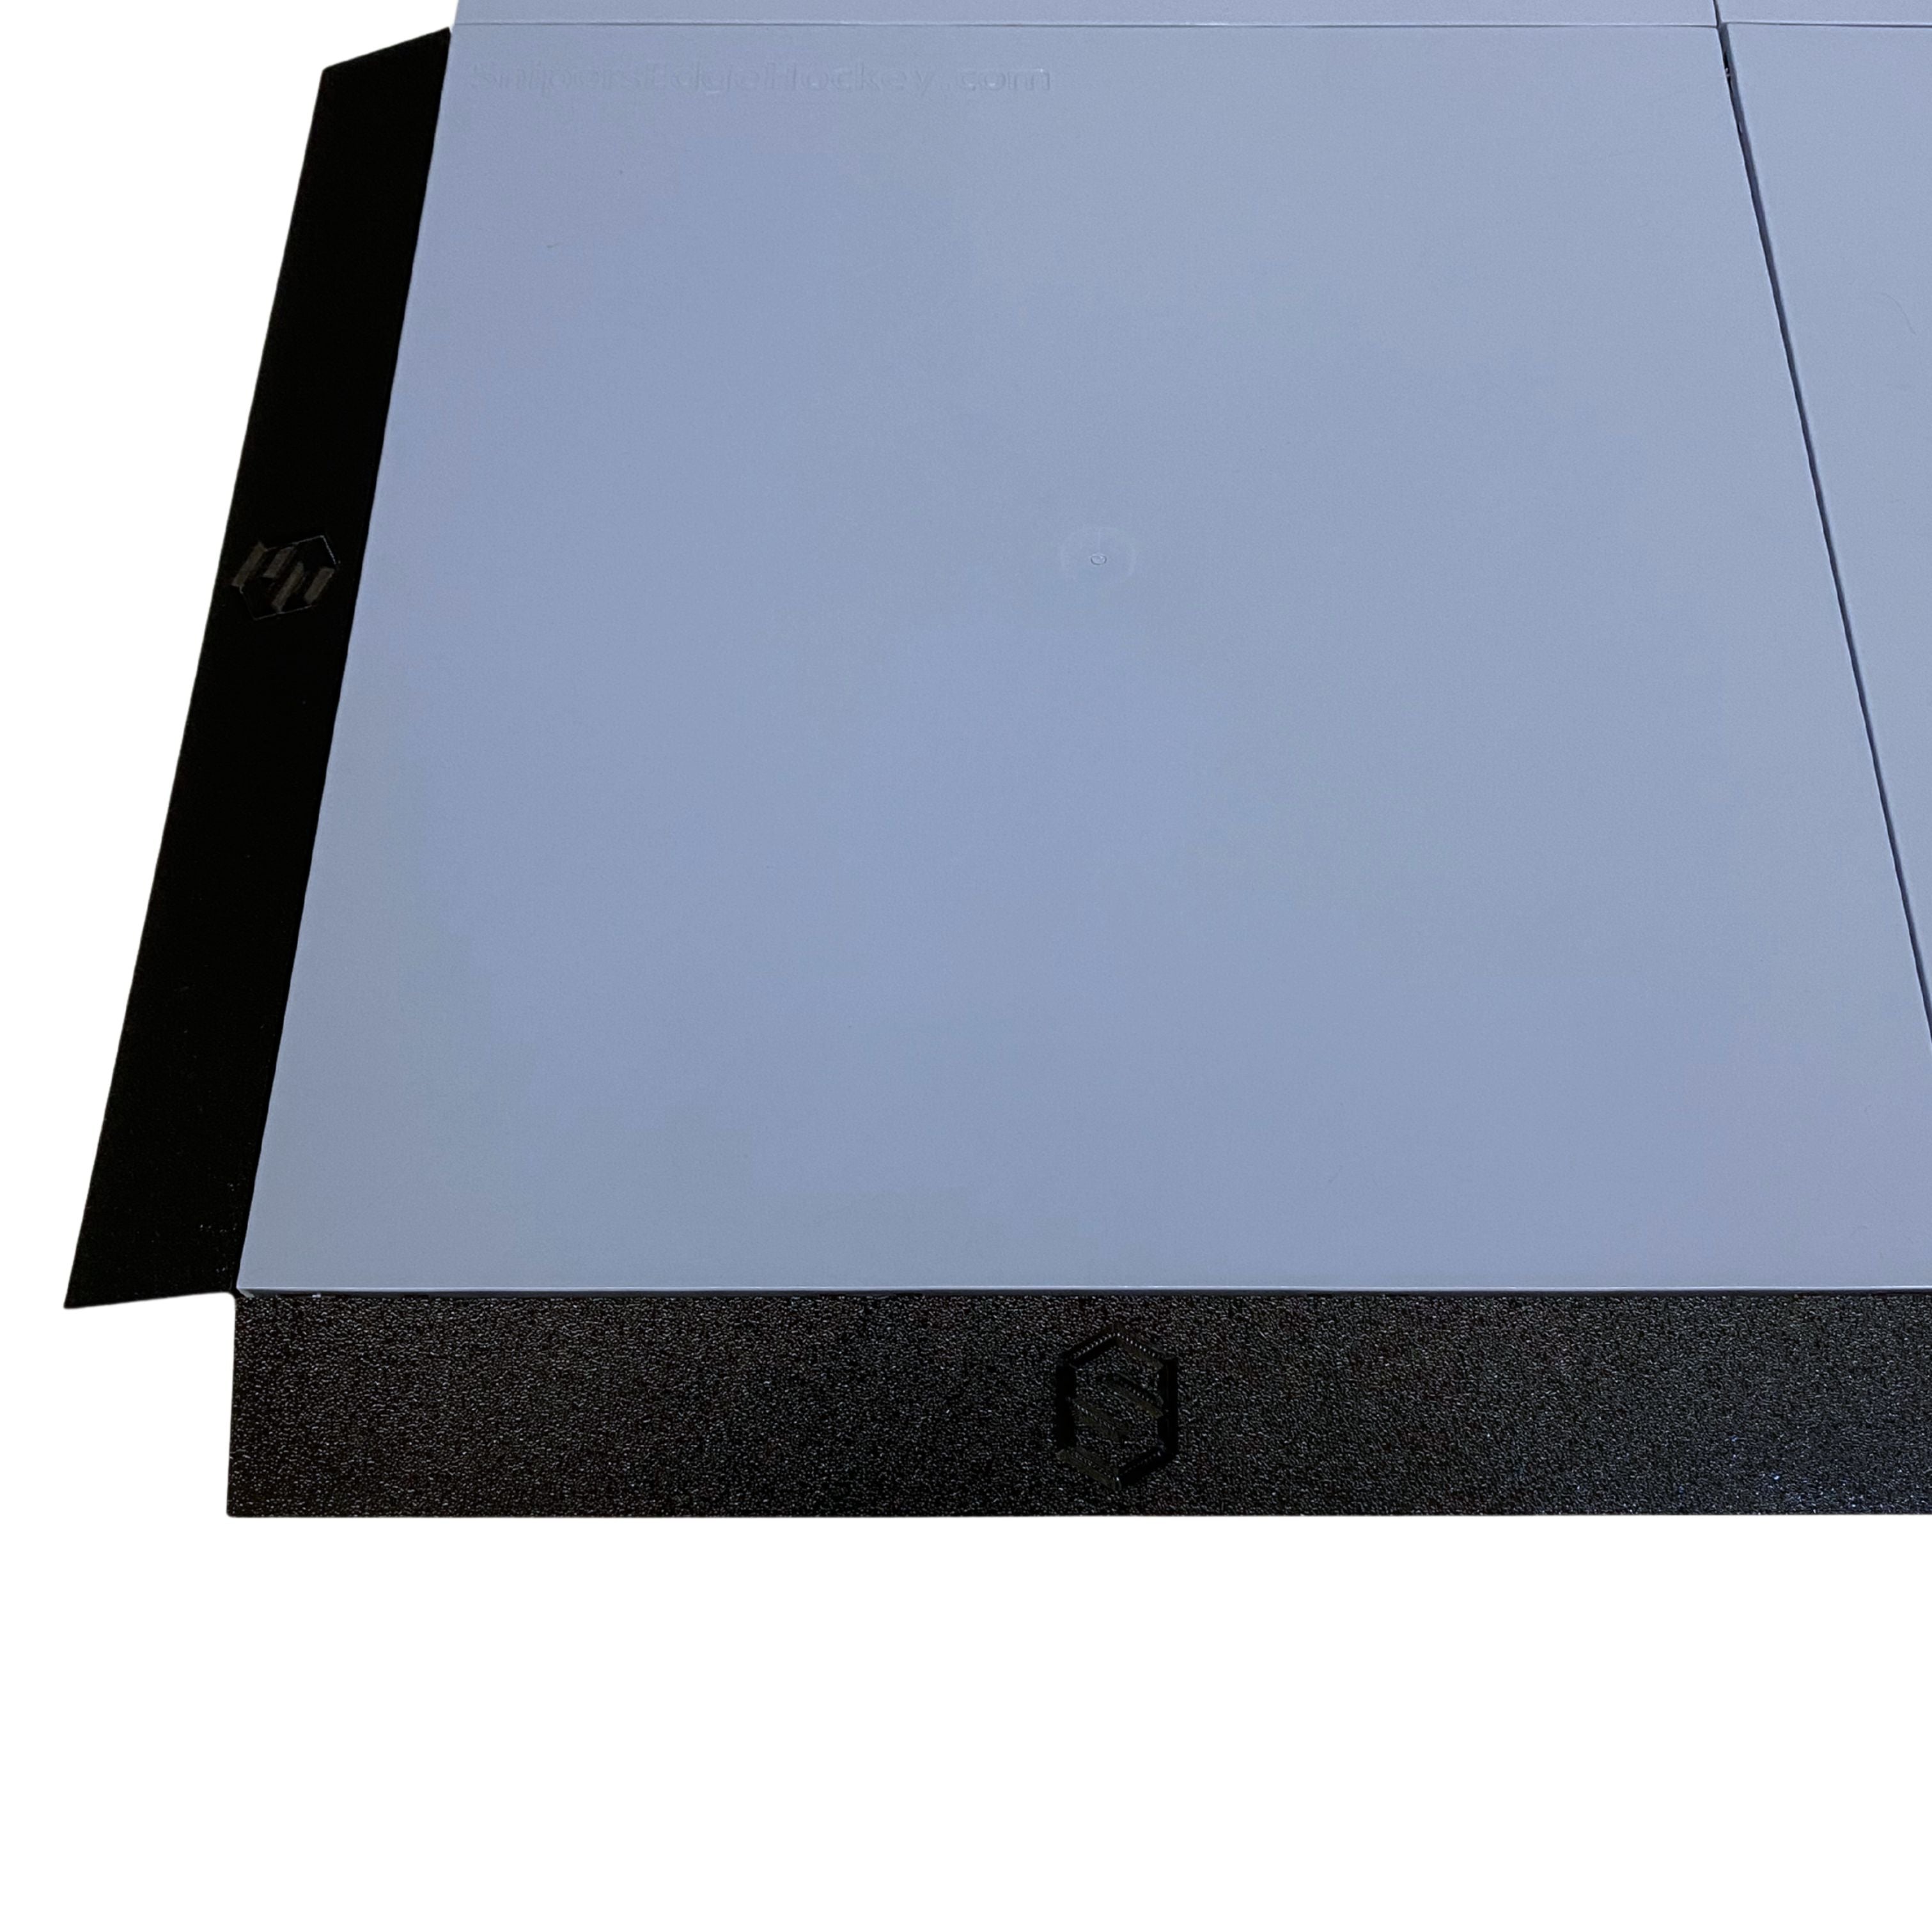
- Built for Battle: Injected-molded from specialty engineered HDPE material right here in the USA.
- Weatherproof: UV-coated and moisture-resistant—perfect for the garage, driveway, or basement.
- Protect Your Gear: A low-friction surface that saves your expensive stick blades from concrete and asphalt.
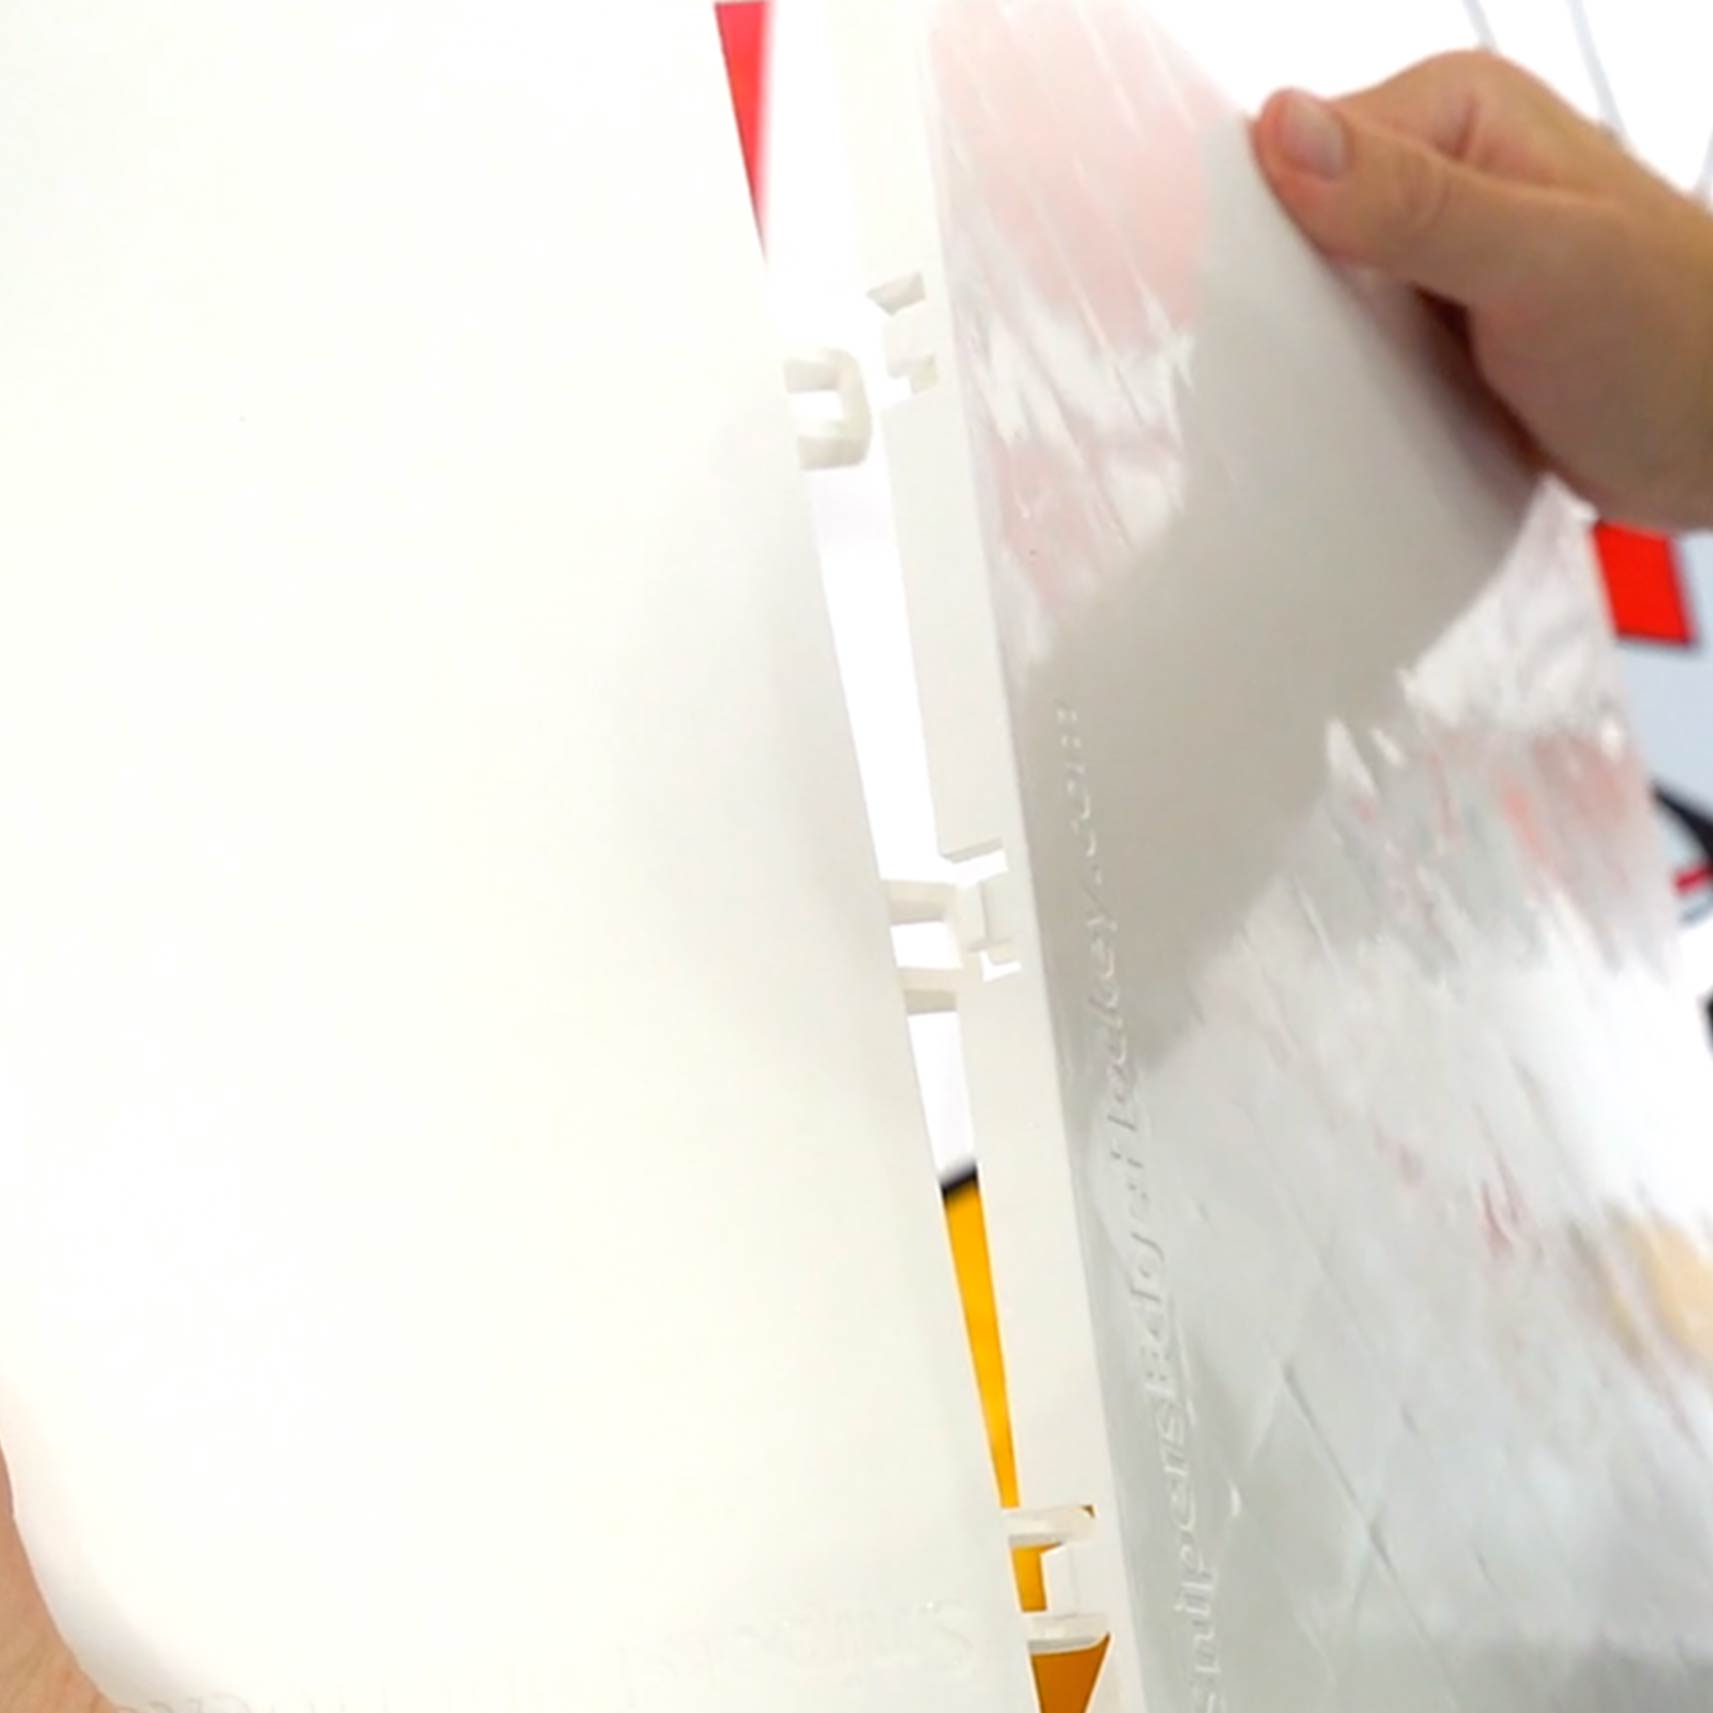
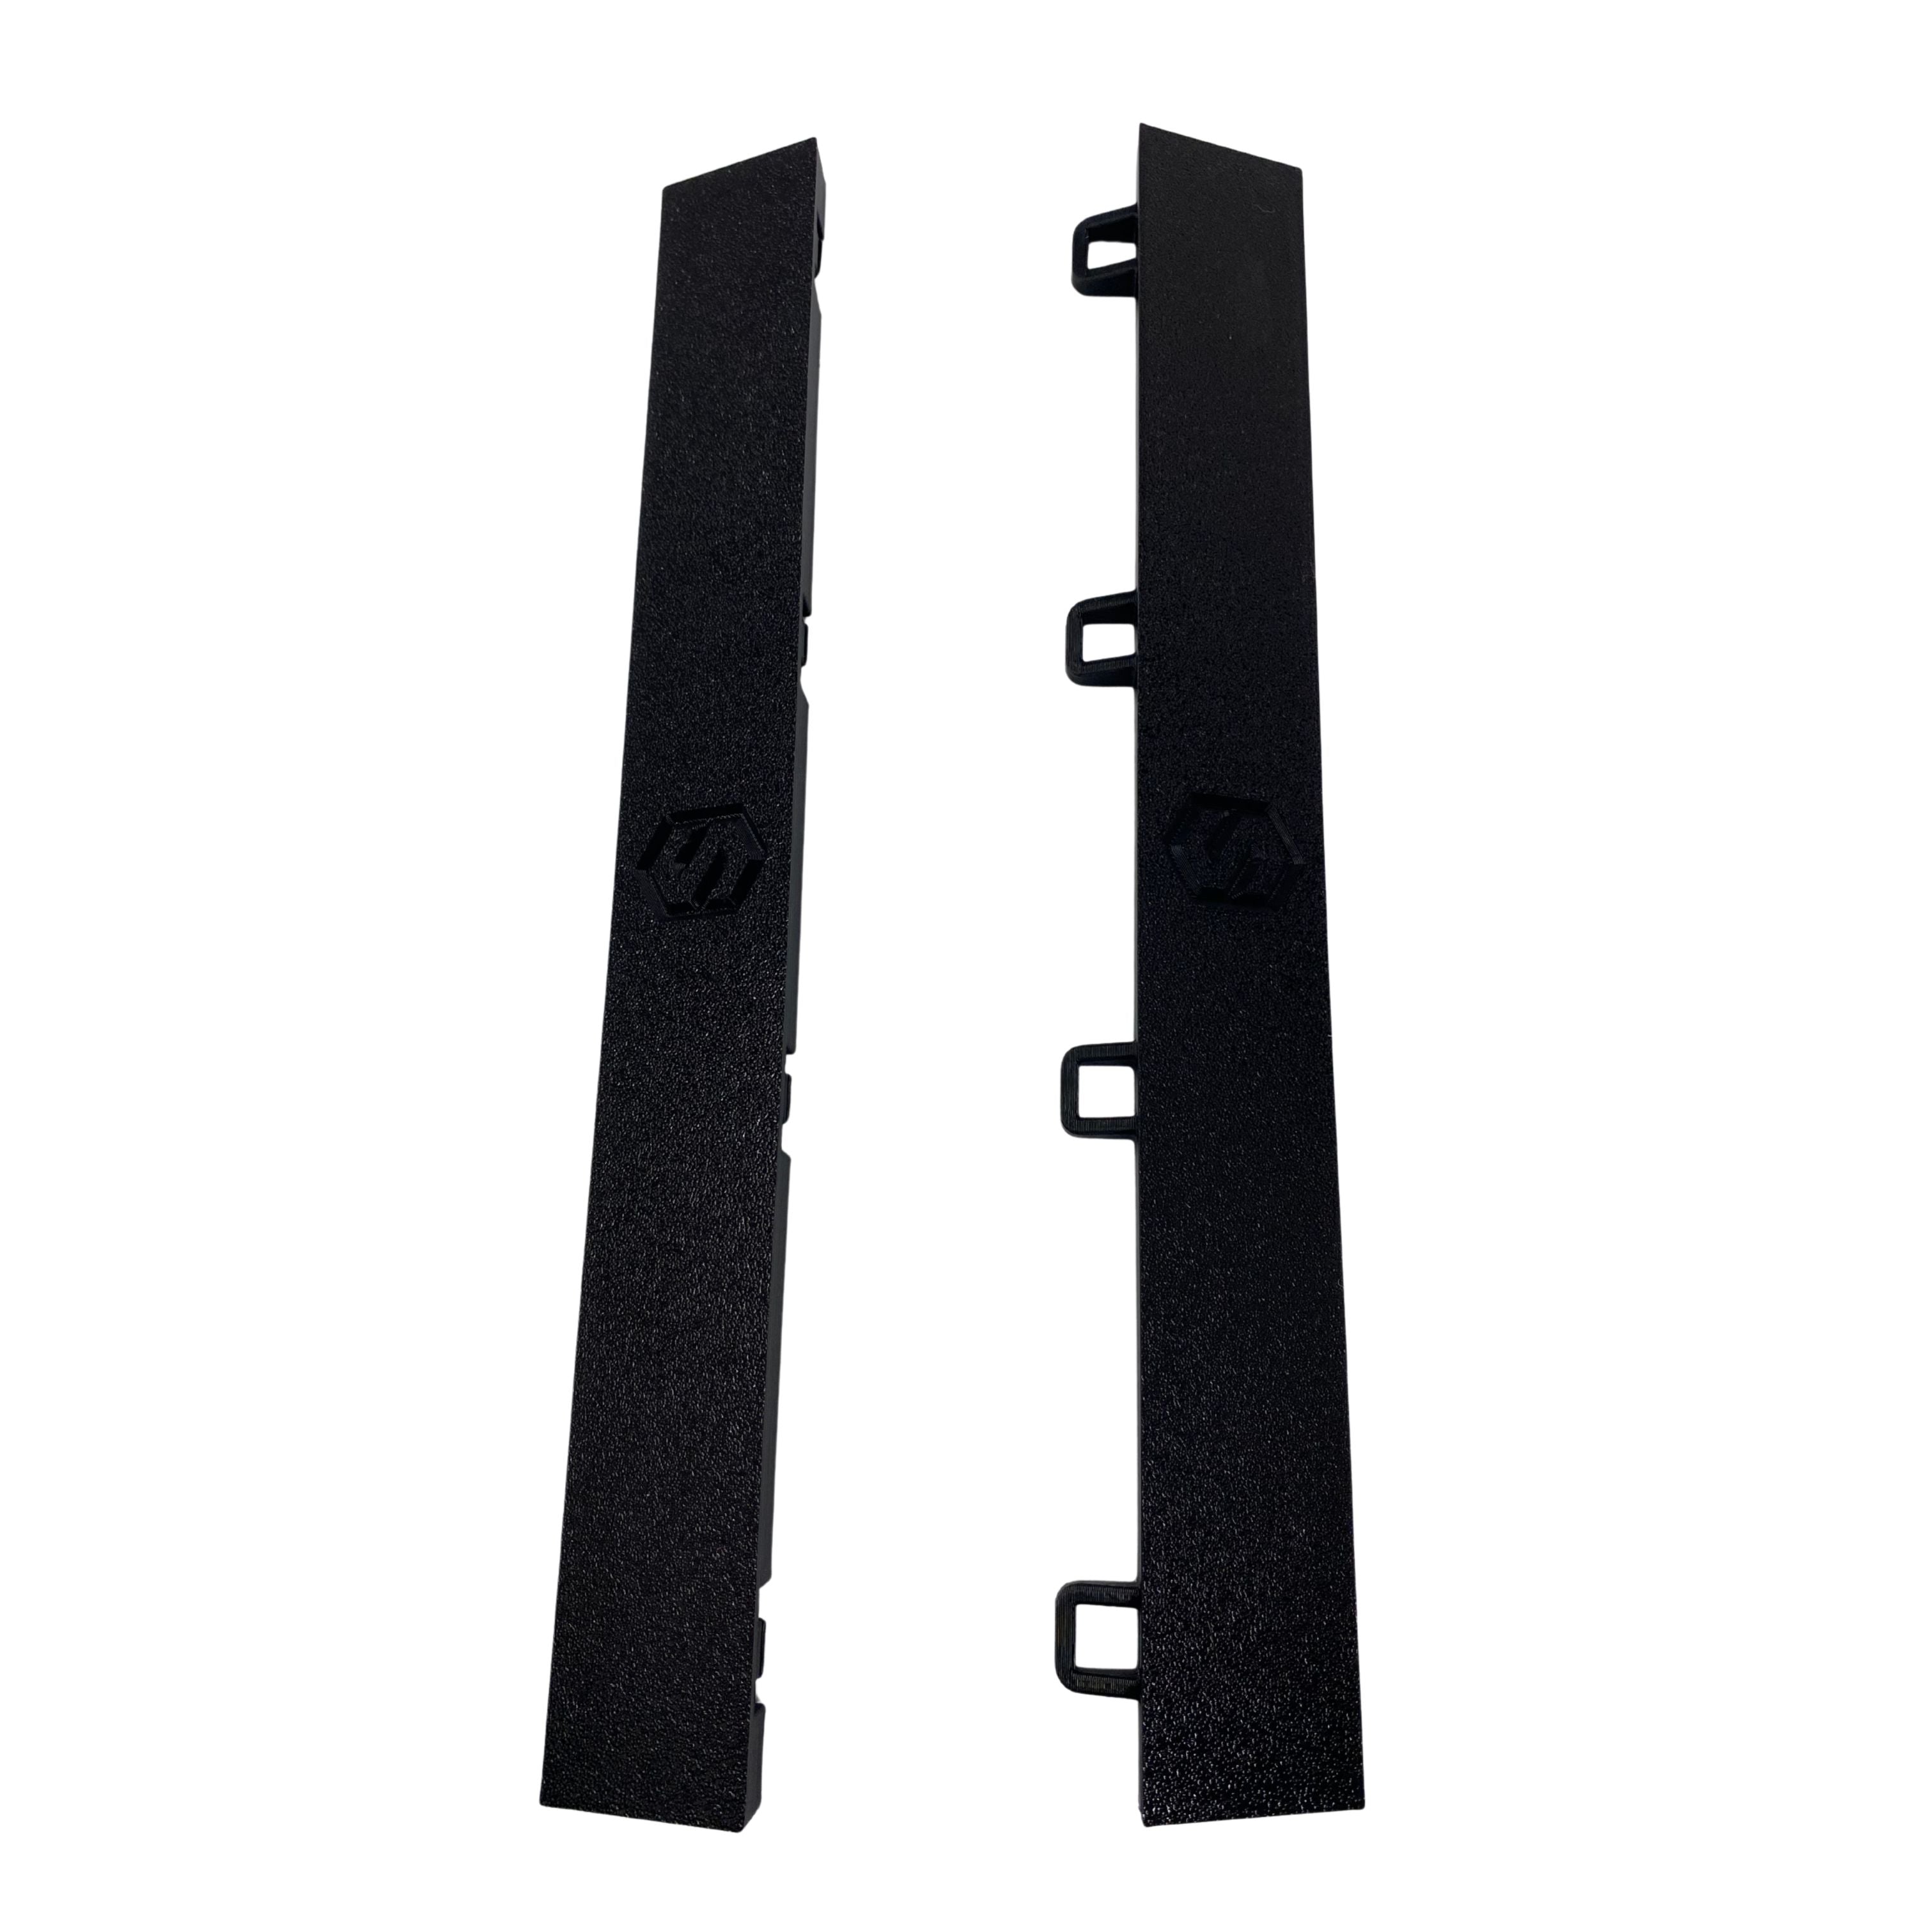
- Tool-Free Assembly: Interlocking clip-and-hook design means you can set up your rink in minutes with just a few foot stomps.
- Heavy Duty: Rugged enough to park your truck on, and to last you for years.
FAQs
How do I clean the dryland hockey tiles?
Just like any other floor! An occasional pushbroom to clear dust and debris is usually all you need. You can also use a mop with a trace amount of mild soap if they get extra dirty. Just be careful not to use too much soap, as that could make them sticky.
If you have stubborn puck marks or tape marks that won't go away, also try using a Magic Eraser like you would to remove marks on a painted wall.
Other pro tips:
- Consider using white stick tape to avoid creating scuff marks.
- Ice blue tiles conceals marks more than white.
Can I skate on Slick Tiles?
No, Slick Tiles are designed for use with shoes, inline skates, or barefoot. If you want to use your actual ice skates, you’ll want to check out our Synthetic Ice.
Can I park my car on them?
Absolutely. They’re engineered to withstand vehicle weight, making them perfect for hockey training in the garage.
How easy is the installation?
It’s a literal snap. The interlocking design allows you to assemble an entire floor in minutes with nothing more than a simple foot stomp. No tools, no glue, no headache.
See our installation video below to learn more!
Can I use Slick Tiles outdoors?
Absolutely. Our tiles are UV-protected and weather-resistant. You can leave them in the driveway or on the patio year-round—rain, snow, or shine won't stop the grind.
Extreme heat (160+ degrees) for an extended period of time might eventually cause the product to warp, so if you live in TX or AZ and want to use your tiles on outdoor concrete, consider covering during the hottest parts of the day to ensure the longest life.
How many tiles do I need for my space?
Our math is simple. Each Slick Tile is 12" x 12" (1 square foot). Simply measure the length and width of your area, multiply them to calculate the square footage, and that’s how many tiles you’ll need.
White and ice blue tiles are sold 20 tiles to a box, and red and dark tiles are sold 10 tiles to a box.
Will these tiles protect my expensive hockey stick?
Yes! Practicing on concrete or asphalt ruins your blade in minutes. Slick Tiles, however, provide a smooth, low-friction surface that protects your stick blade from wear and tear, and also protect the underlaying floor.
Do I need to place subflooring underneath?
The tiles will work on any hard flat surface.
Some customers may wish to place an underlayment to prevent tiles from sliding around, and/or for noise or moisture absorption. This is a personal preference and may offer great results, or might not be necessary. We've seen plenty of cases in which something like an old towel or thin rug being placed underneath can prevent against sliding. It's also true that the larger the training area covered in tiles, the heavier the tiles will become and the risk of sliding is diminished.
QUESTIONS ABOUT INSTALLATION?
Our step-by-step guide will get you training in minutes.