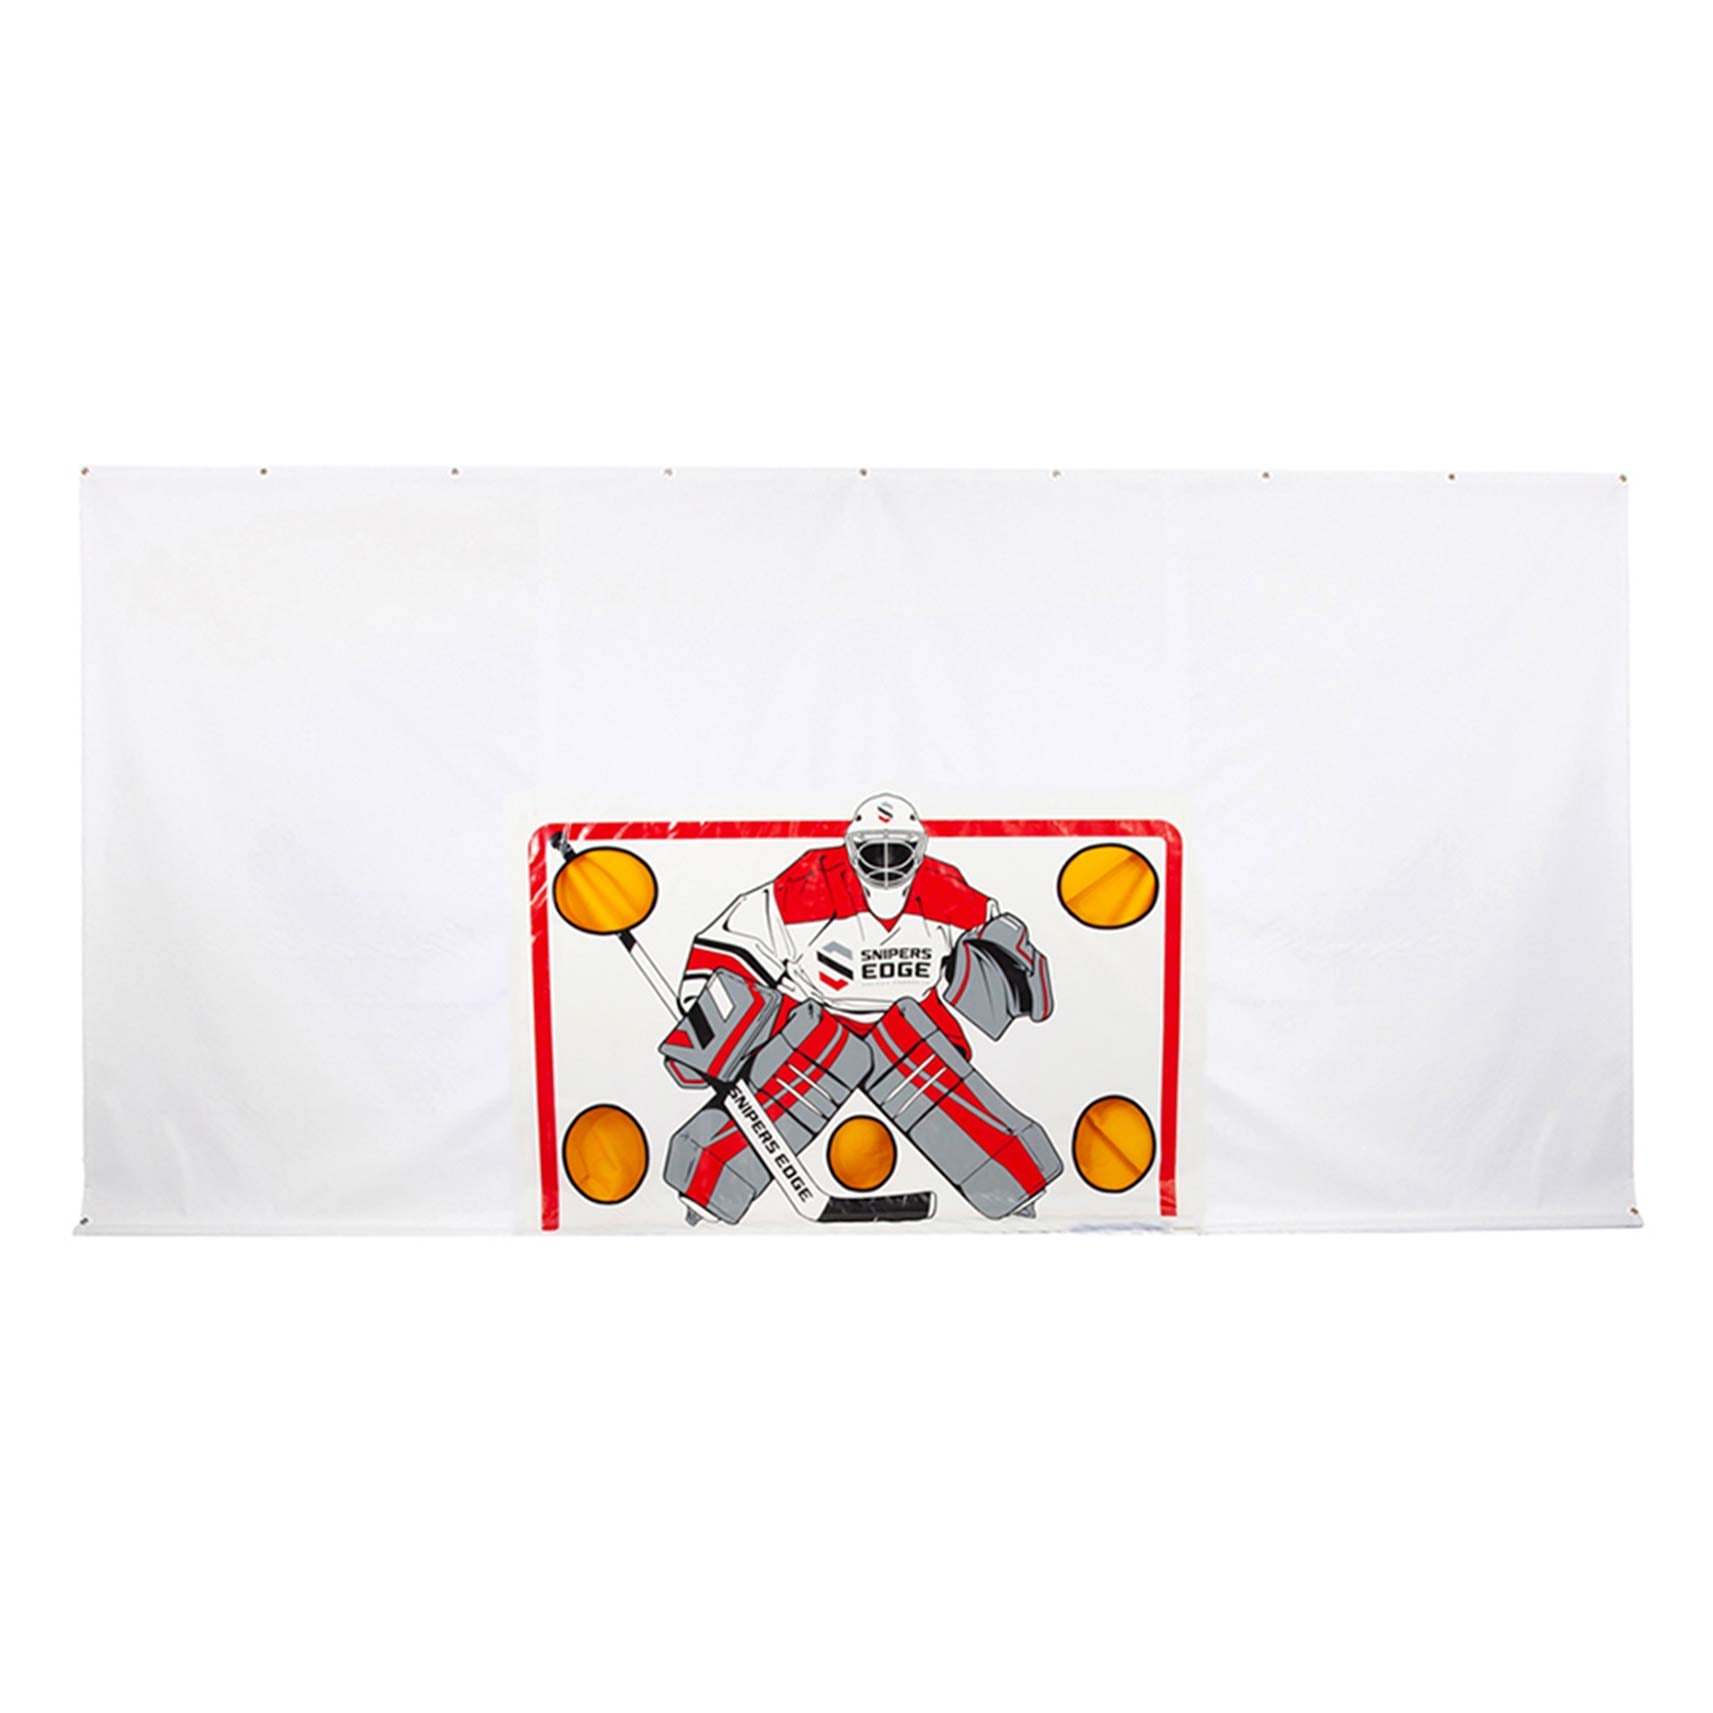
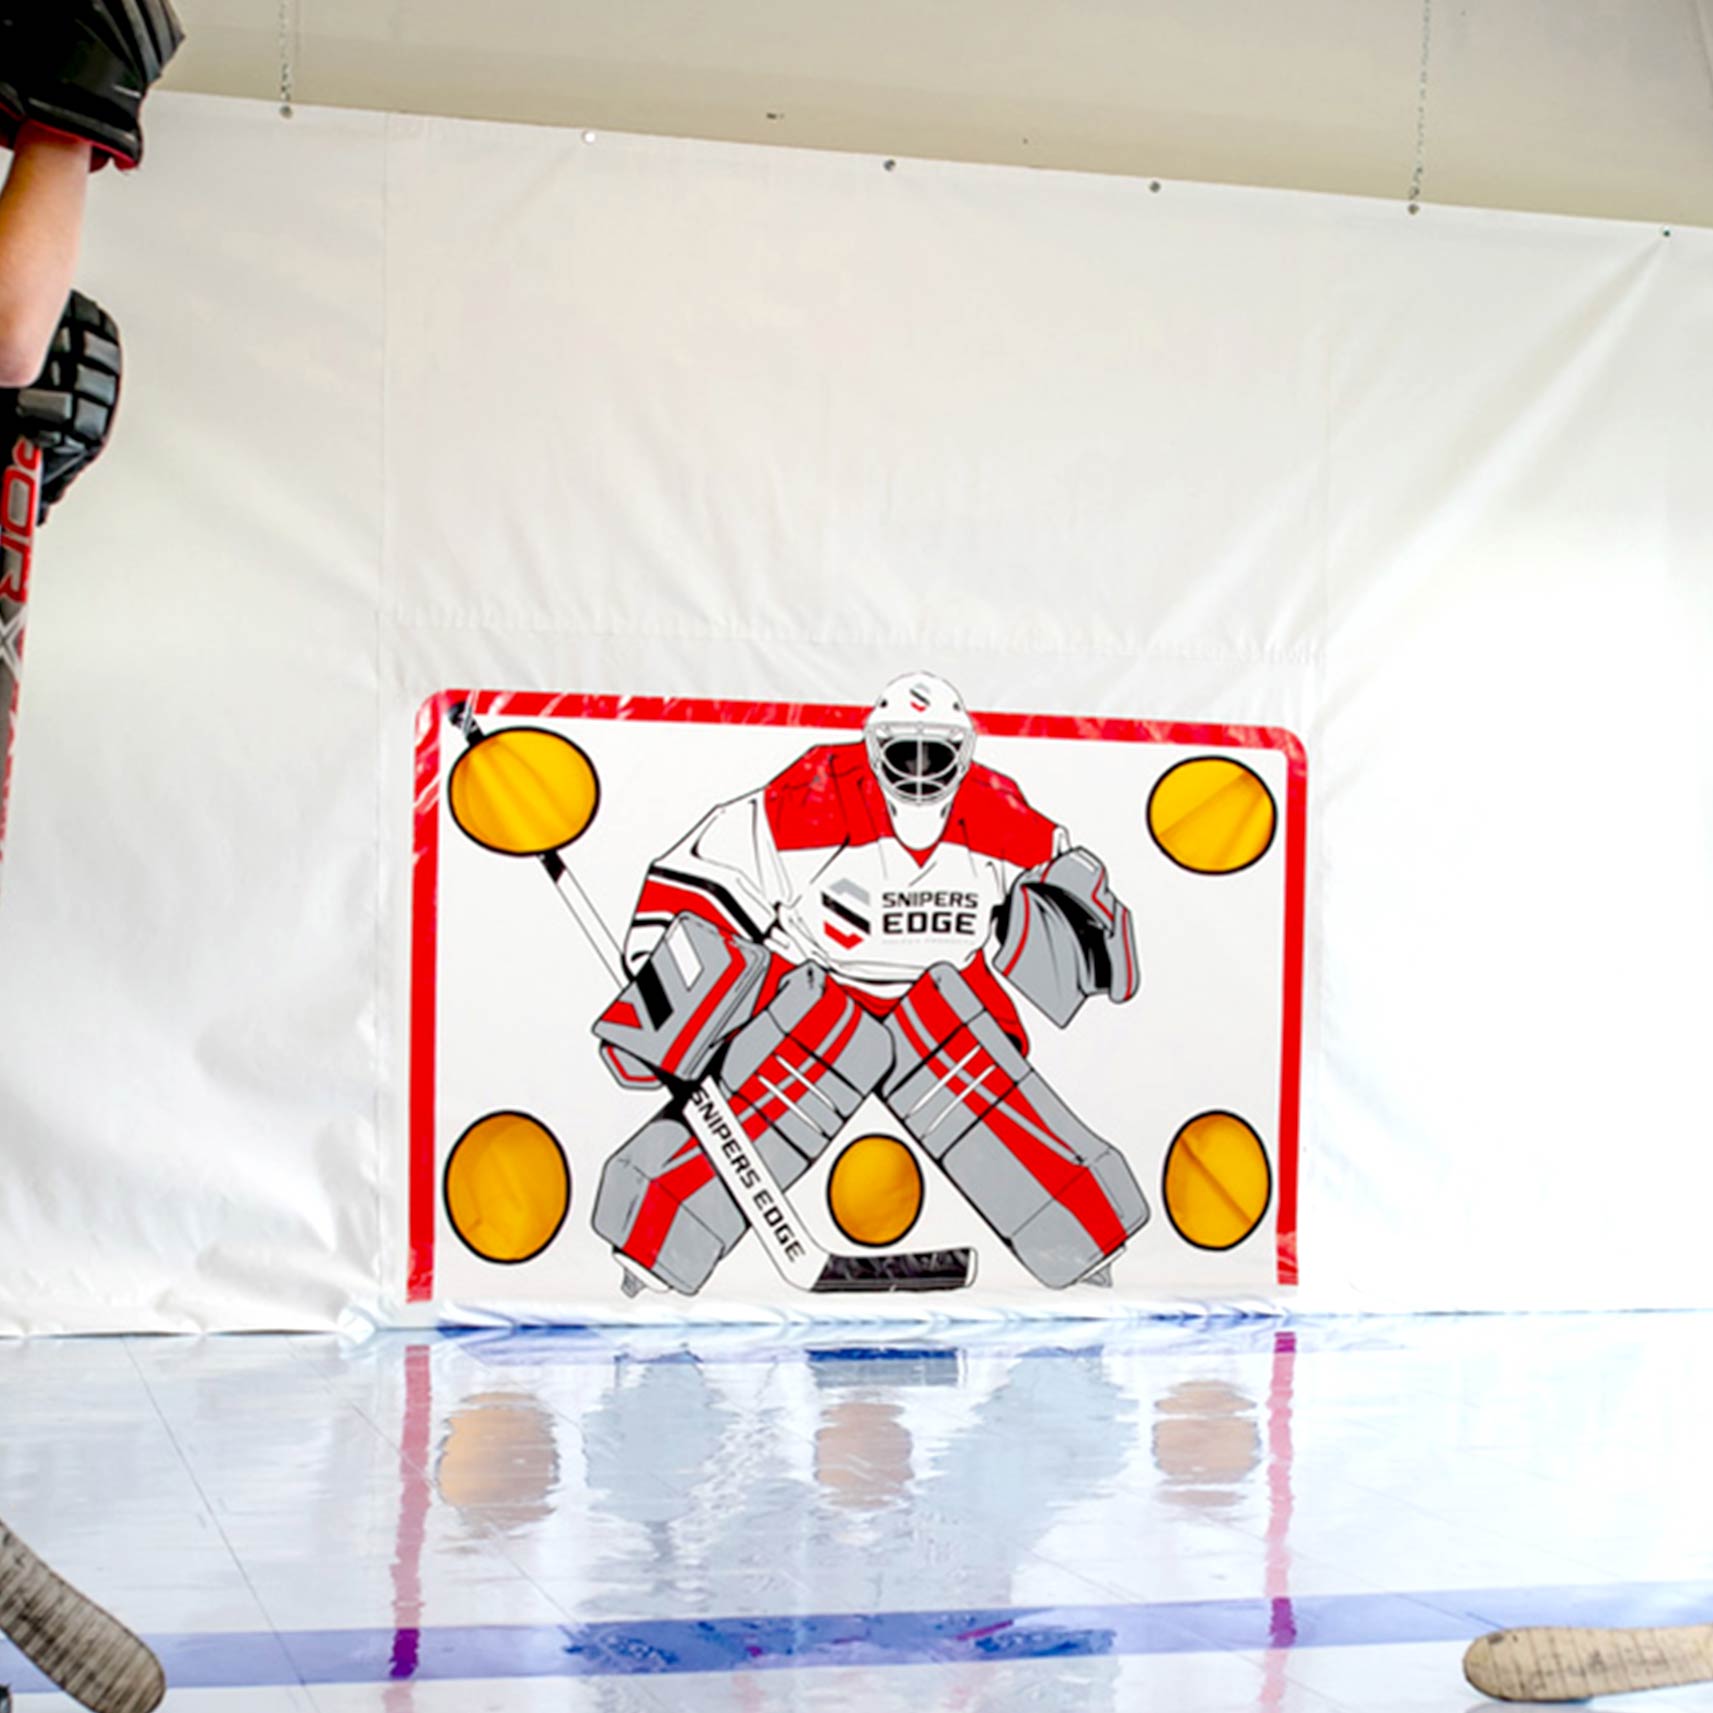
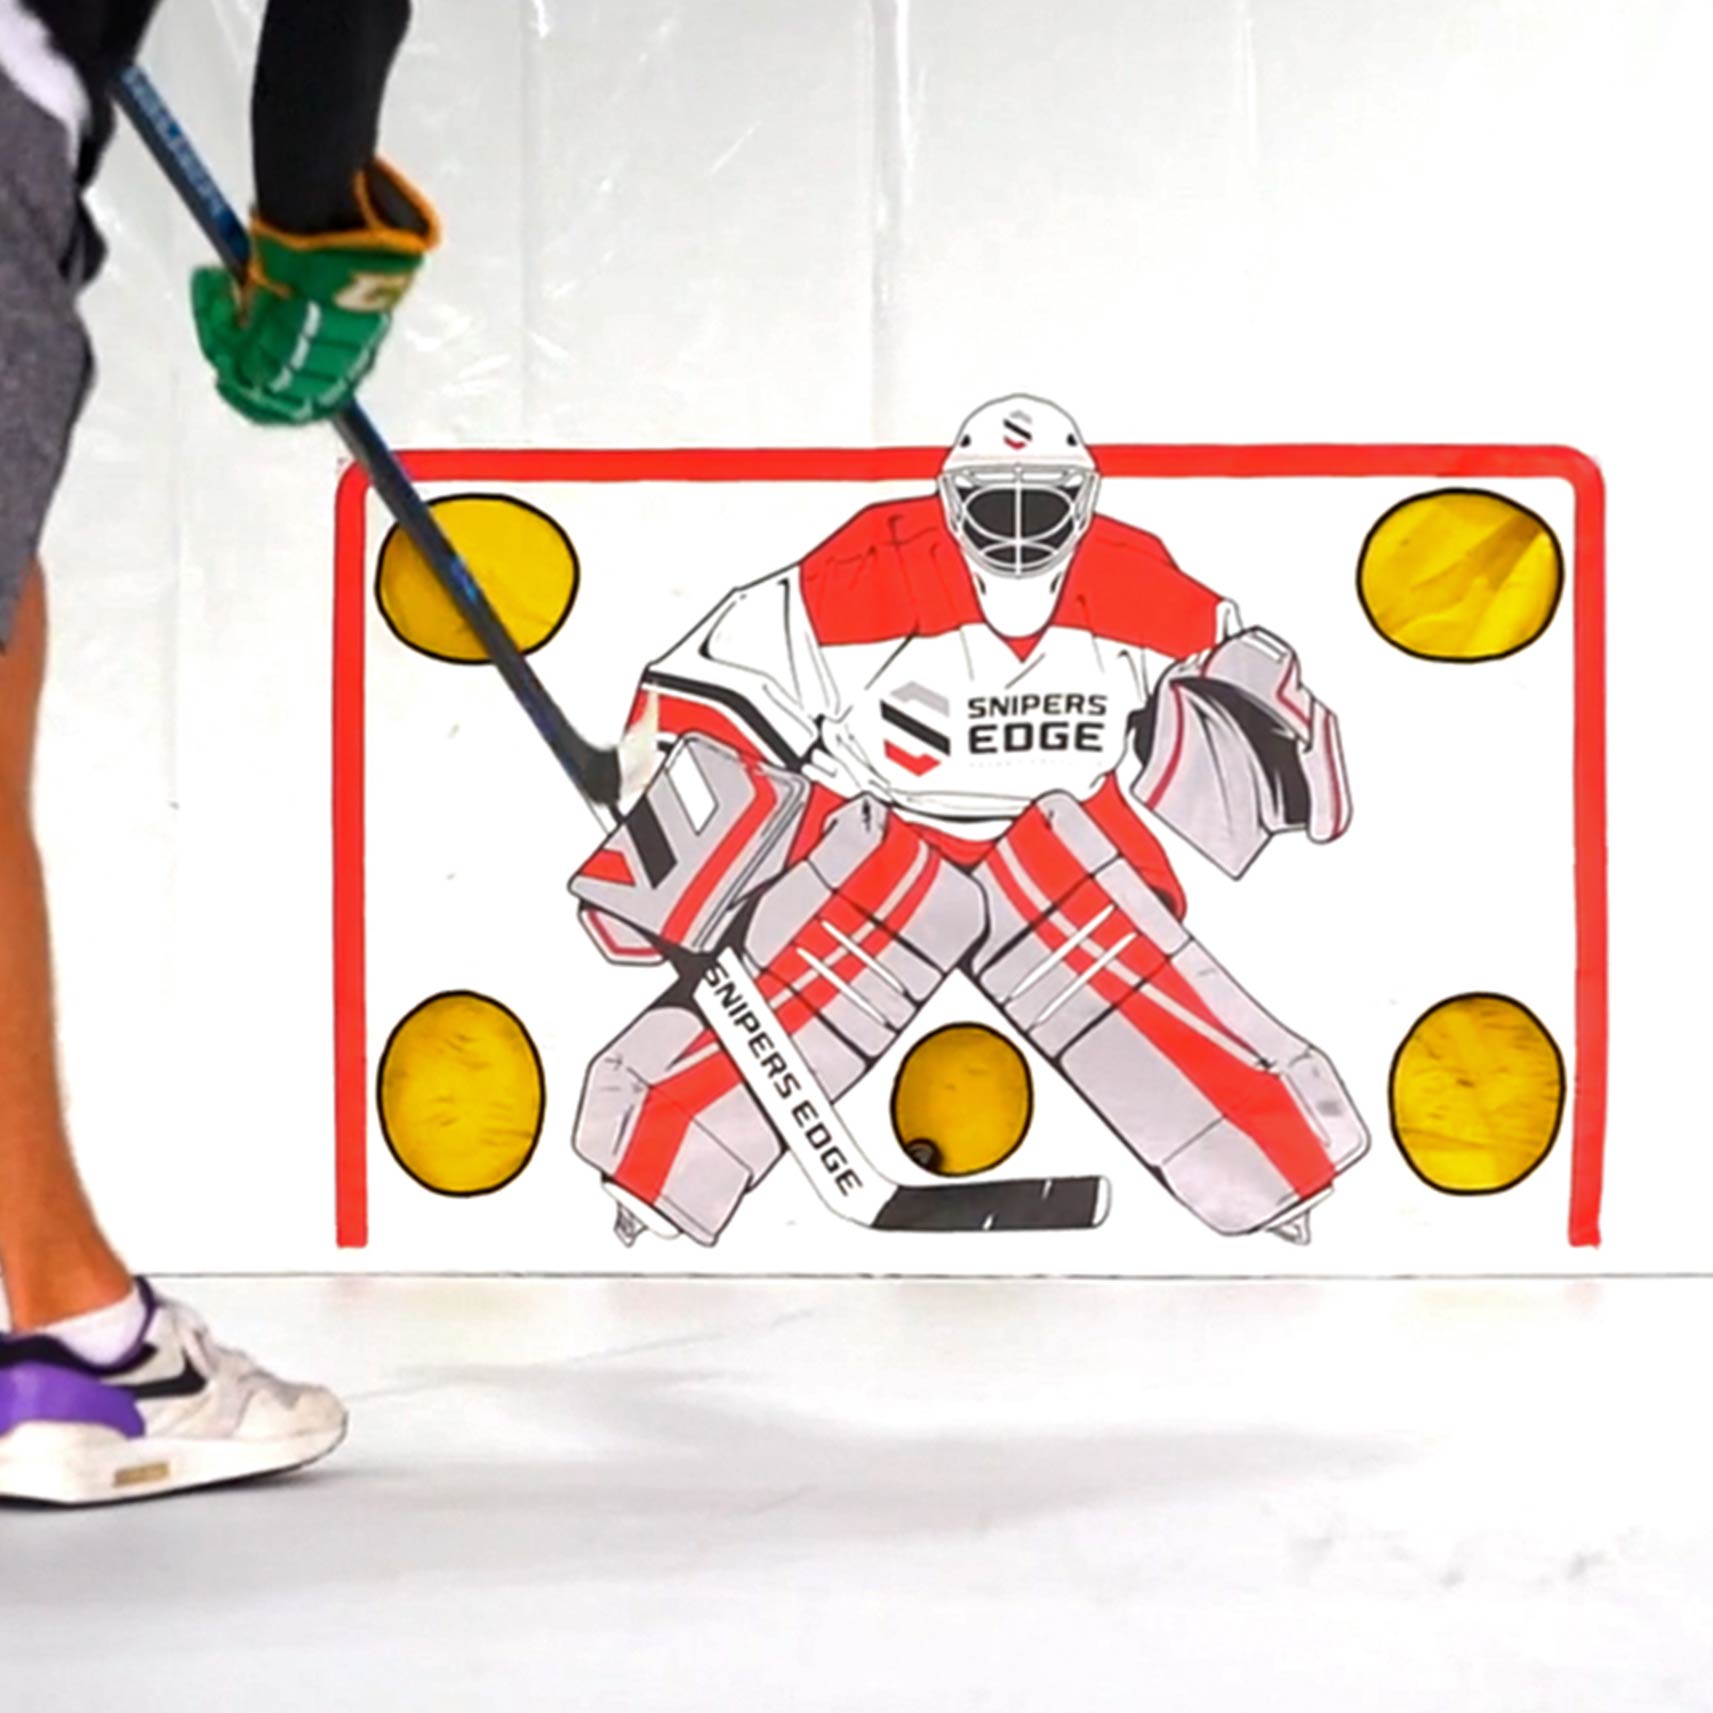
The tarp may be installed to either your wall or ceiling, depending on your personal preference or room design. In both cases, please note that the tarp is designed with grommets along the top, spaced every 24 inches, that enables installation
Wall installation: for best results, we recommend attaching a 2 x 4 wood beam to backside of the top of the tarp. Next, install shelf brackets along your wall, ideally into the wall studs. Then, fasten the 2 x 4 to the wall brackets, such that the tarp surface can hang 12-18 inches in front of the wall when fully installed.
For ceiling installation: some customers attach to studs in the ceiling using bungees or another suspension system. The length of bungee will depend on ceiling height, of course. Bungees may fit directly into the grommets along the top. Alternatively, you can attach a 2 x 4 wood beam to the backside of the top, or fasten the top to a pole using zip-ties, and then connecting your beam or pole to the bungees or suspension system.
We've seen hundreds of unique ways to install our Tarps over the years. It all depends on your area and the options and space available to you.
Please see our installation video below for more ideas!


